Diorama
Build Gallery
 01
01
 02
02
 03
03
 04
04
 05
05
 06
06
 07
07
 08
08
 09
09
The Concept
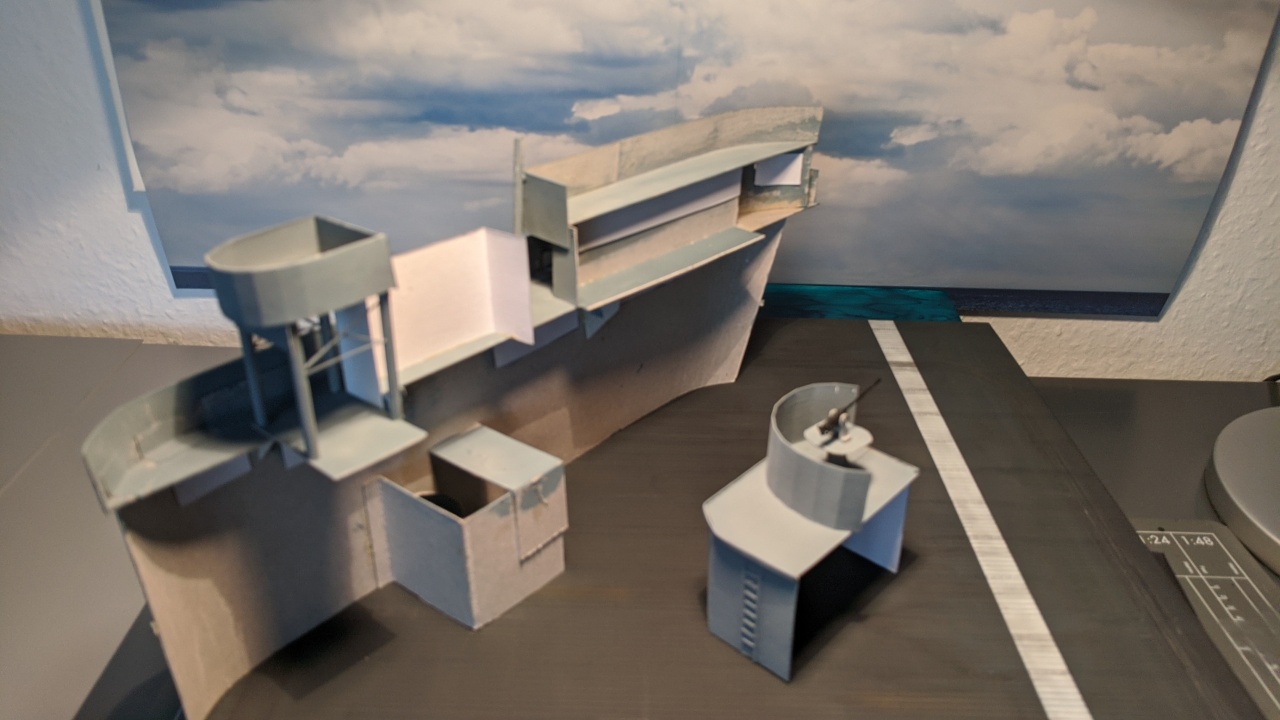
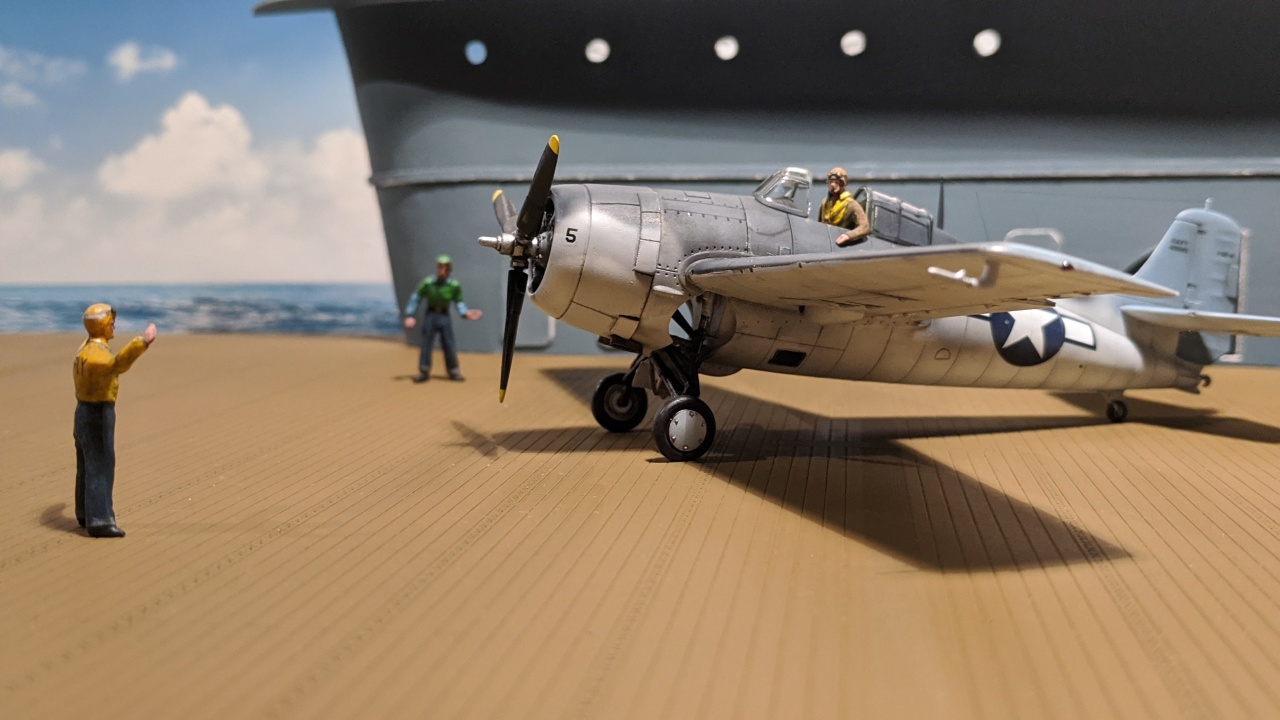
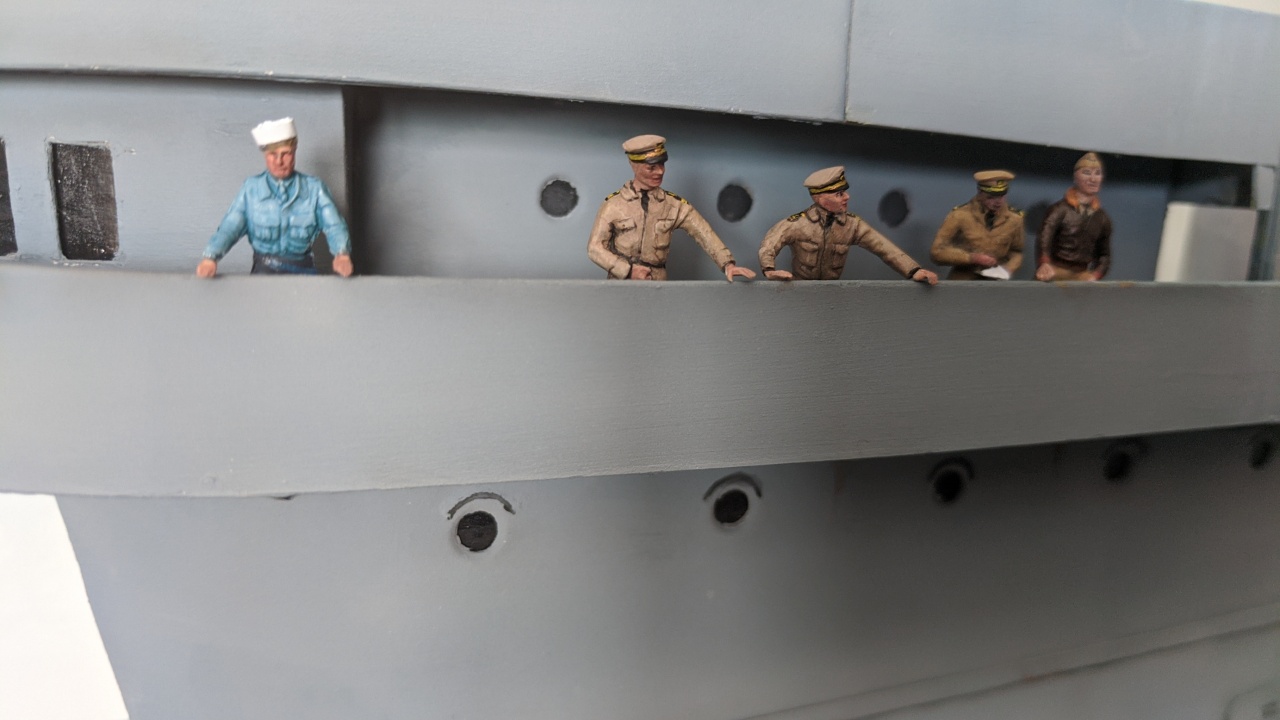
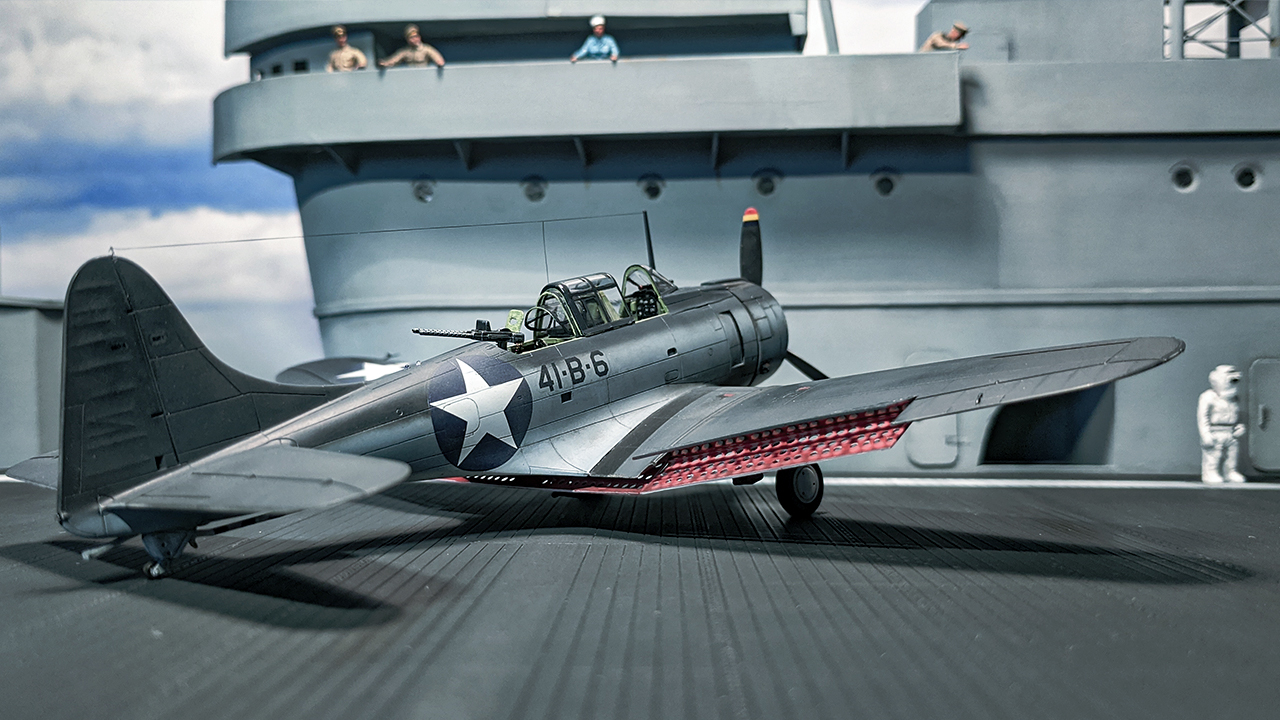
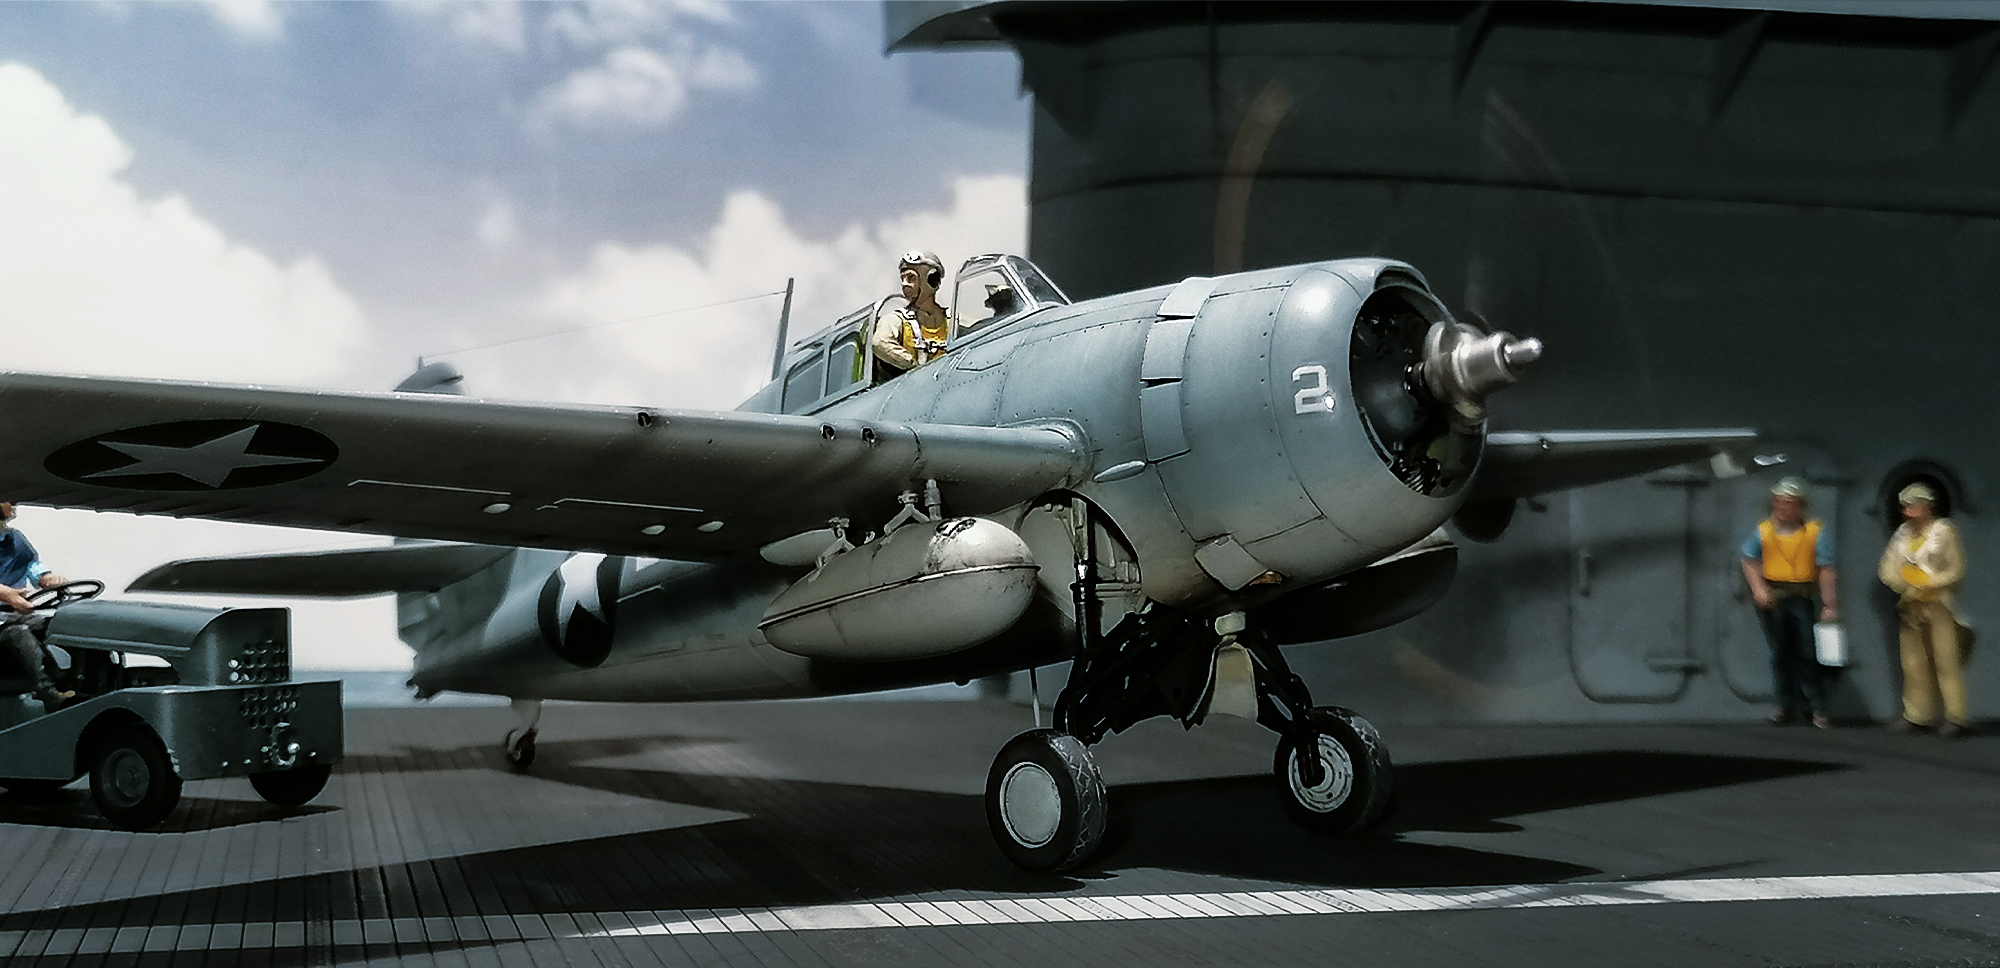
An aircraft carrier island — the command tower rising above the flight deck — is one of the most evocative settings for a 1/72 US Navy carrier aircraft. Built as a flat backdrop rather than a fully three-dimensional model, it follows the same logic as a theatre stage set: only the visible face needs to be there. This half-shape approach keeps construction simple while creating a convincing illusion in photographs.
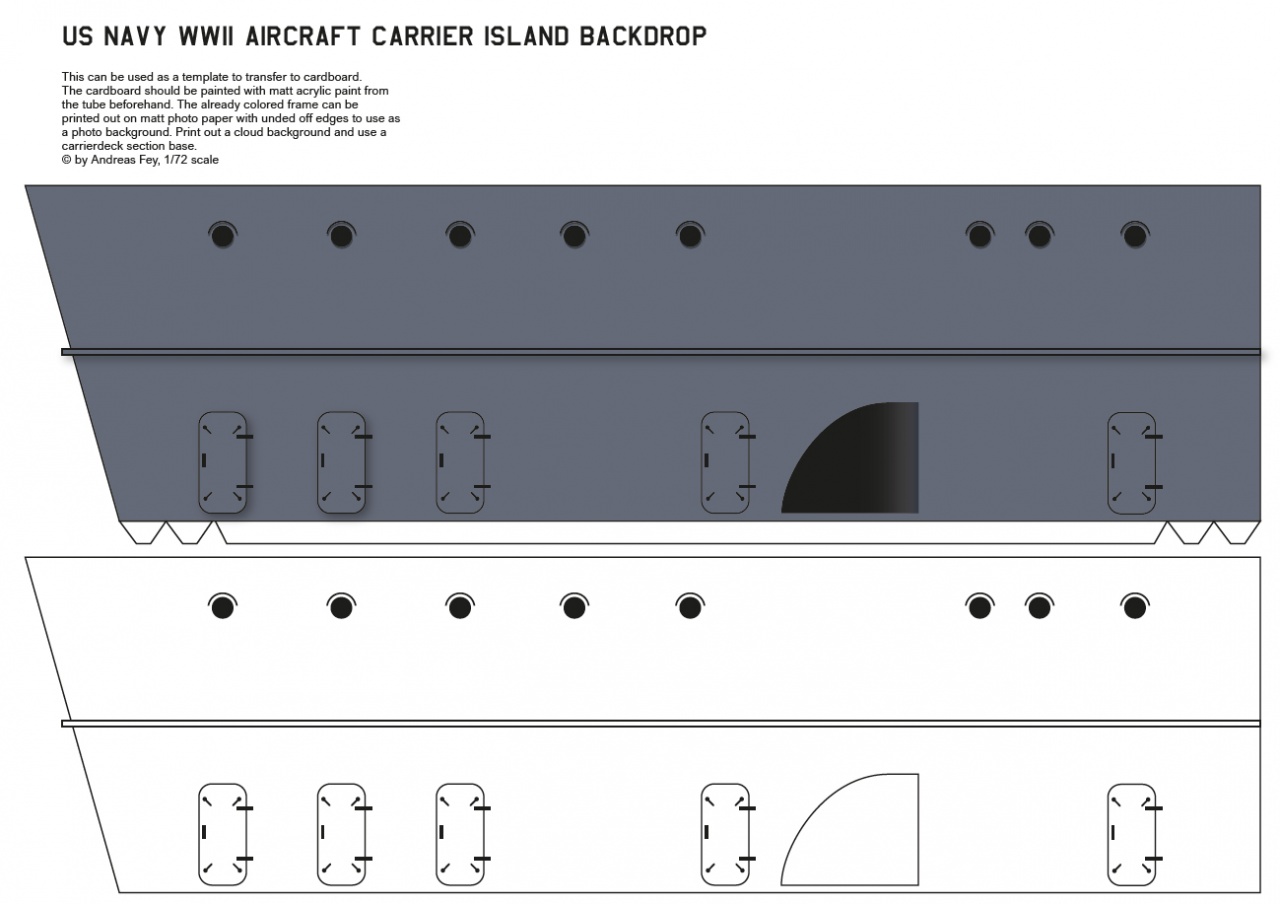
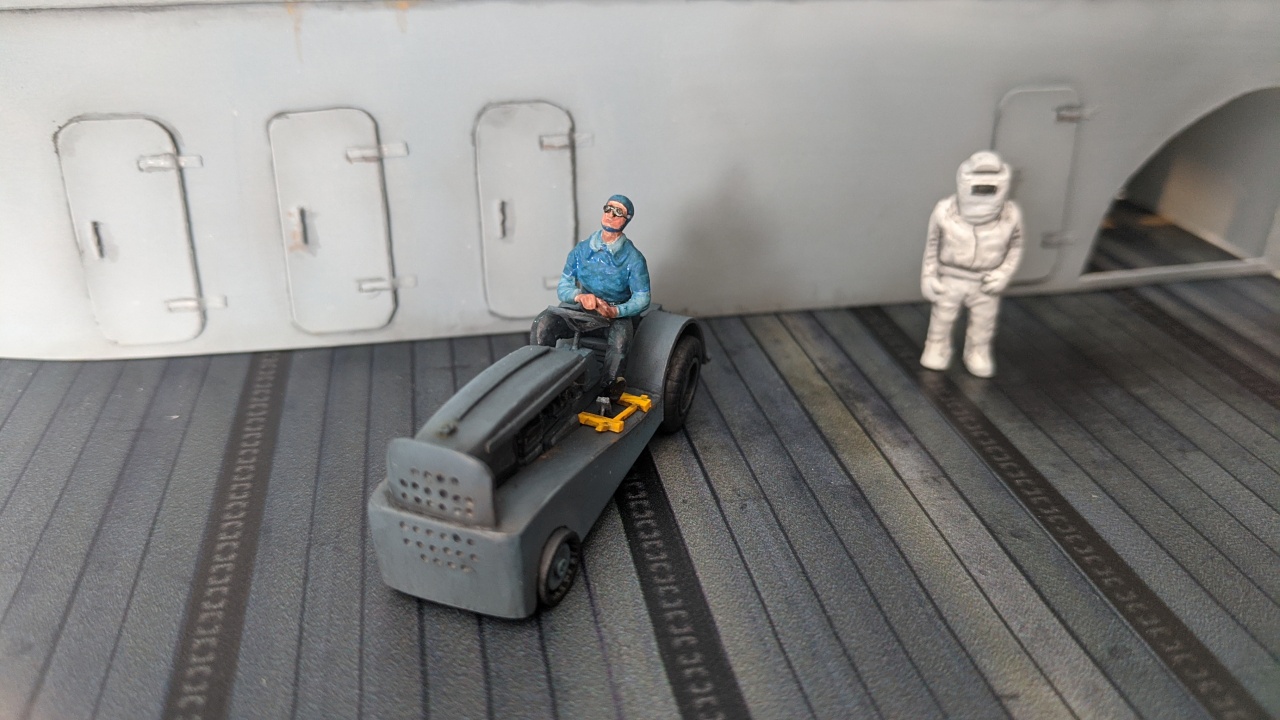
Start by researching which carrier your specific aircraft served on. Door and hatch proportions are the single most useful scale reference: a standard watertight hatch is roughly 600 × 750 mm, which at 1/72 gives you about 8 × 10 mm — a reliable check on whether your structure looks right. A PDF template for the basic island shape is available for download from the original build article.
Materials
Grey cardboard — the type that is white-coated on one side — is the core material. The white side takes acrylic paint well; the grey side can serve as a neutral basecoat where hidden. You need at least two A4 sheets, though a third is useful for cutting mistakes. Keep water application minimal when painting: too much moisture warps the card and undoes careful cutting. A few drops of acrylic in a relatively dry mix is enough to cover evenly.
Construction
Sketch the island layout digitally — even a rough vector drawing helps you plan the levels, windows, and ladder positions before committing to card. Print the sketch and transfer the outlines to the painted cardboard by tracing or light-boxing. Cut carefully with a fresh scalpel blade: cardboard dulls edges quickly, and a dragging blade tears rather than slices.
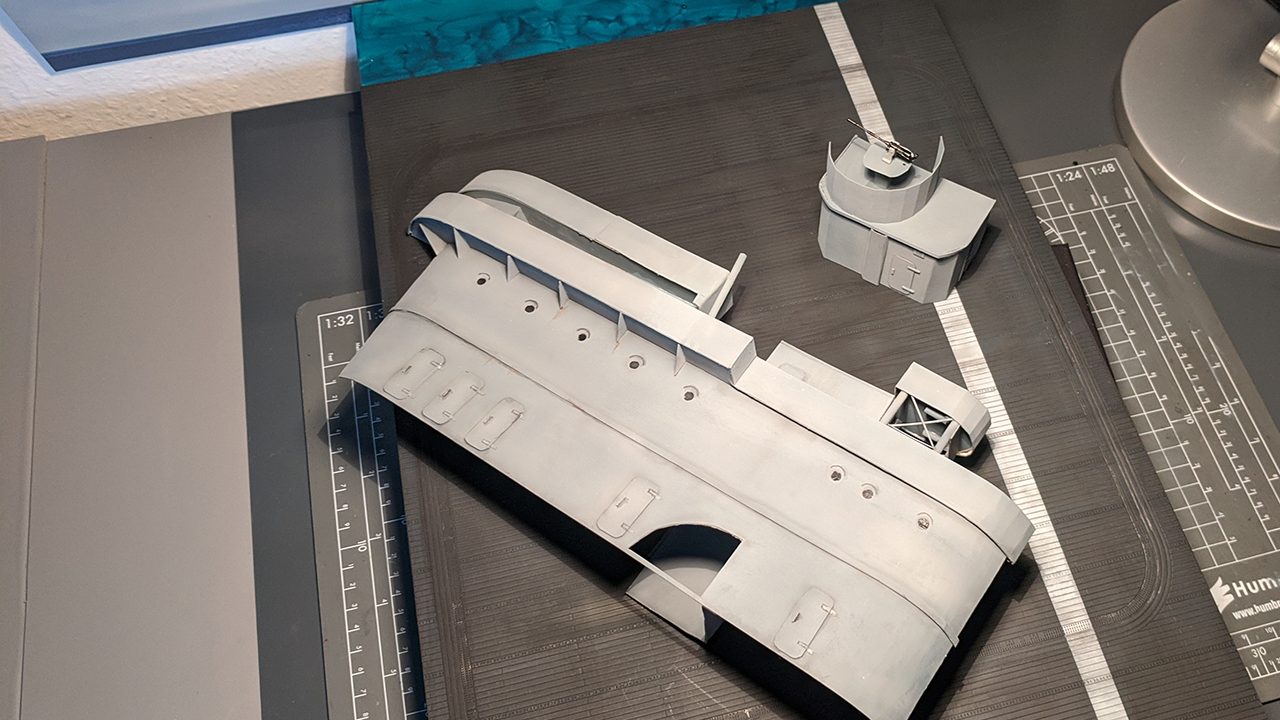
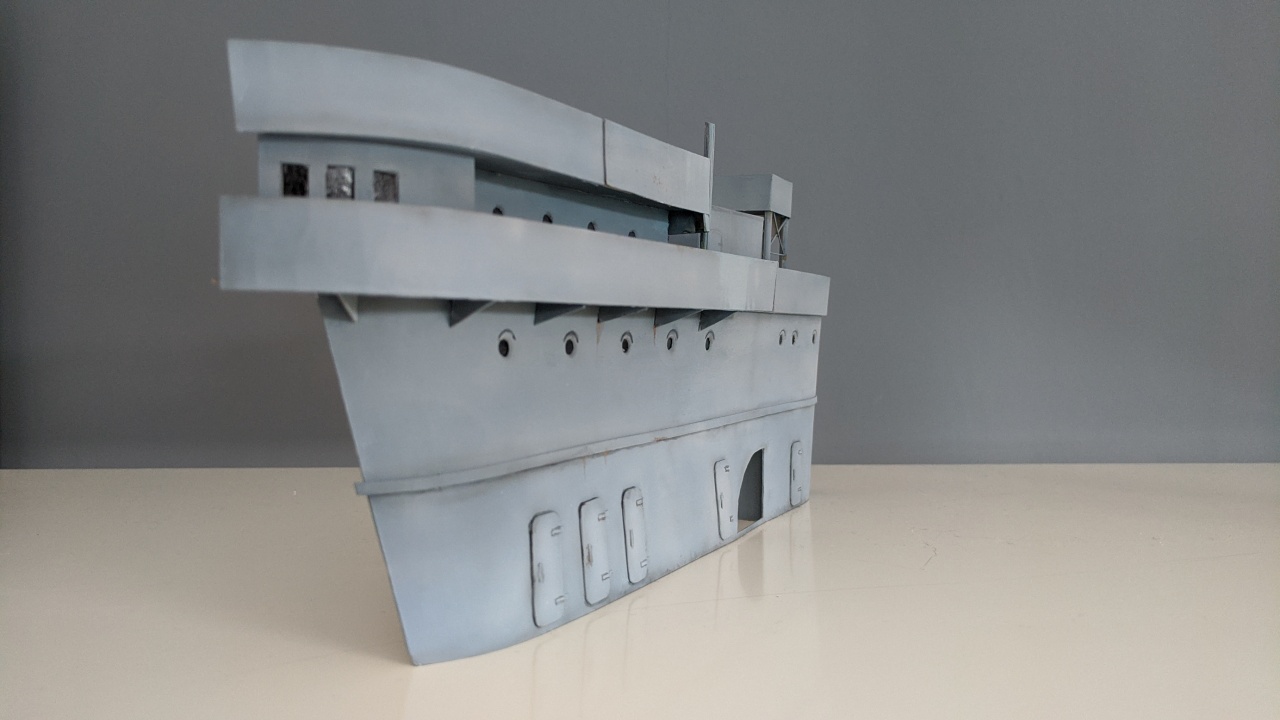
Build the island as a half-shape: cut the profile, score and fold to create the slight three-dimensional depth of window recesses and deck overhangs, then glue the layers together. Punch or drill portholes and small windows before assembly — it is far easier than trying to cut clean holes in a glued stack. Small details such as radar masts, antennae, and railings can be added from stretched sprue or fine wire once the main structure is solid.
Weathering
Airbrush the finished island with an overall haze of deck grey, then apply a darker filter towards the waterline of each panel to suggest grime accumulation. Rust streaks running down from any metal fittings (paint them burnt sienna, draw them downward with a fine brush and water) read well at camera distance. The airbrush gives the smooth, blended look that is difficult to achieve with a hand brush on flat card surfaces.
01
02
03
04
05
06
07
08
09