Blister Pack Vac-Forming
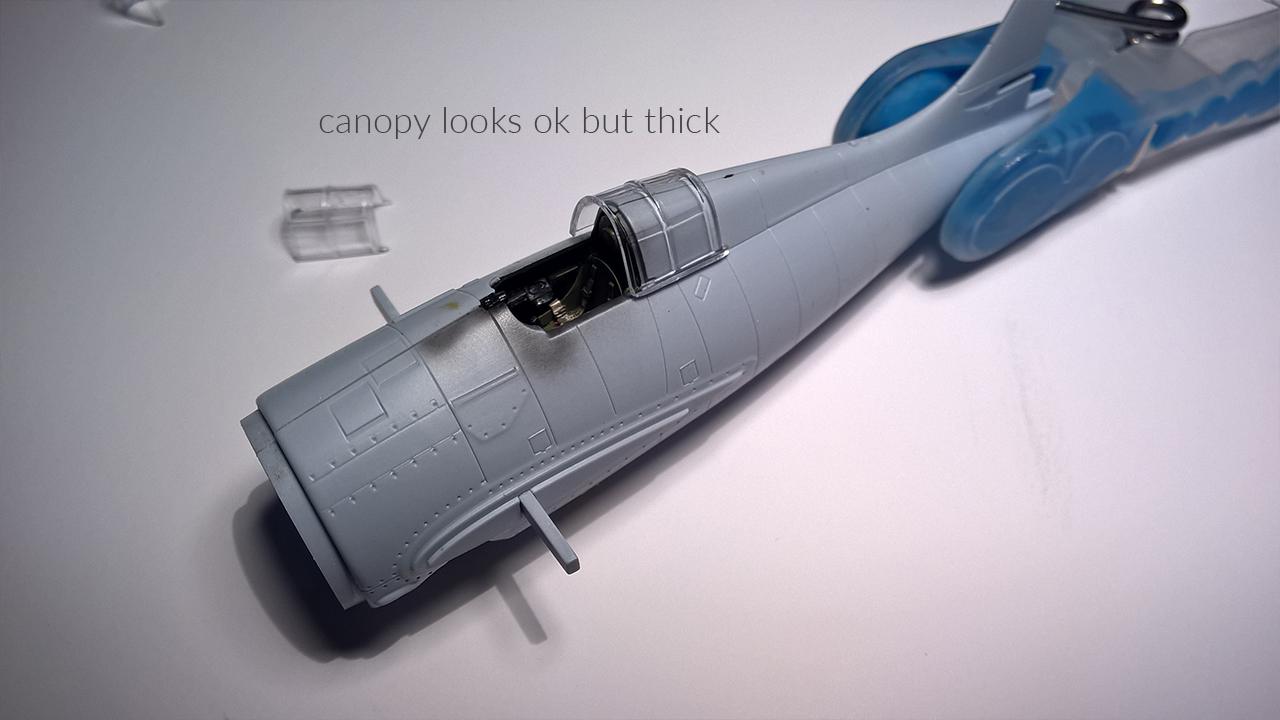
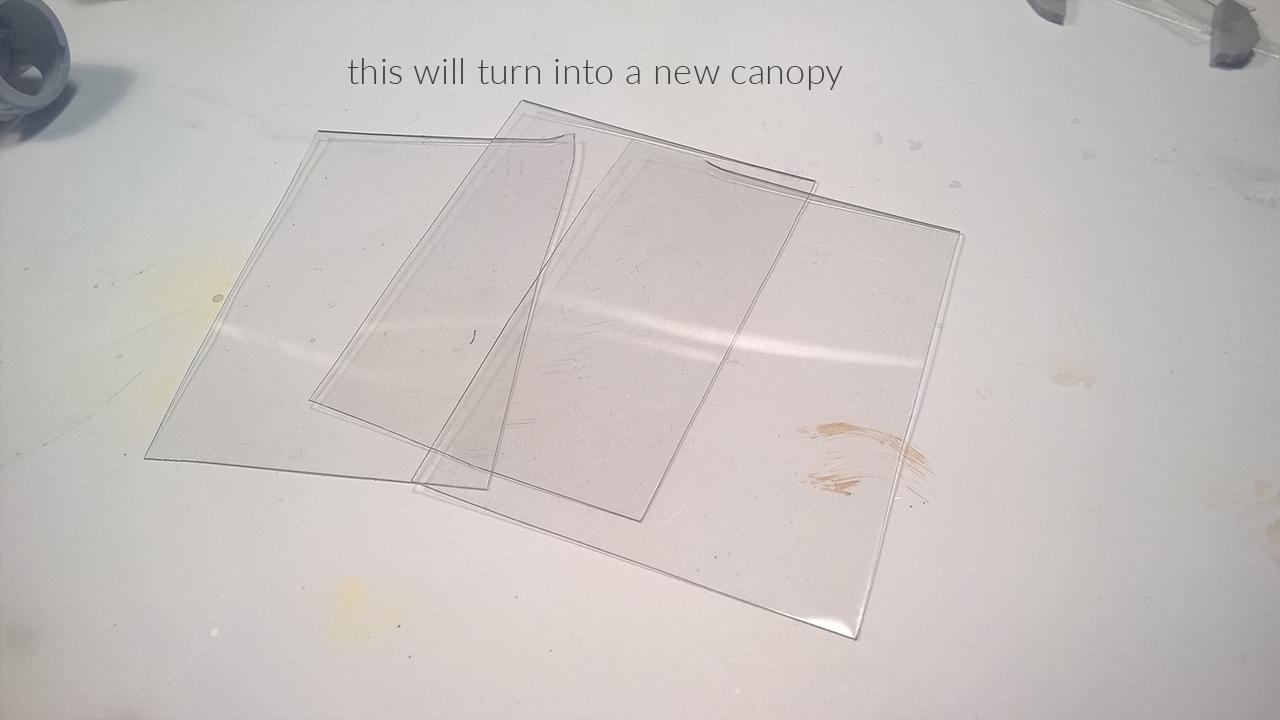
When a kit canopy is too thick, yellowed, or poorly detailed — or when you simply want to display your aircraft with the canopy open and need an undamaged spare for the closed position — clear plastic blister packaging makes a surprisingly capable substitute. The material is thin, optically neutral, and free: every model kit arrives in packaging that is otherwise thrown away. With a little heat and the right technique, it conforms beautifully to compound curves and produces a result that is often clearer and crisper than the original part.
This method works on virtually any canopy shape — from simple bubble-top fighters to long greenhouse canopies. It has saved more than a few builds where the kit-supplied transparency was fogged, stressed from old glue experiments, or simply not up to the standard the rest of the build deserved. The process takes no more than thirty minutes once you have done it a couple of times, and the only cost is patience.
Never heat plastic over an open candle flame near paints, thinners, or solvents. Work in a well-ventilated area and keep flammable materials well away from the heat source. A heat gun set to low is a safer and more controllable alternative to an open flame.
Before you touch the kit canopy, run a few practice passes with scrap blister material and a throwaway part or a coin of similar curvature. Heat the plastic sheet evenly — keep it moving, never hold it in one spot — then gently drape and press it over the form. You need to develop a feel for the temperature at which the material becomes pliable but before it starts to bubble or collapse. This matters because the original kit canopy can only survive three or four forming attempts as a mould before the heat begins to distort it. Practice runs protect that limited resource.
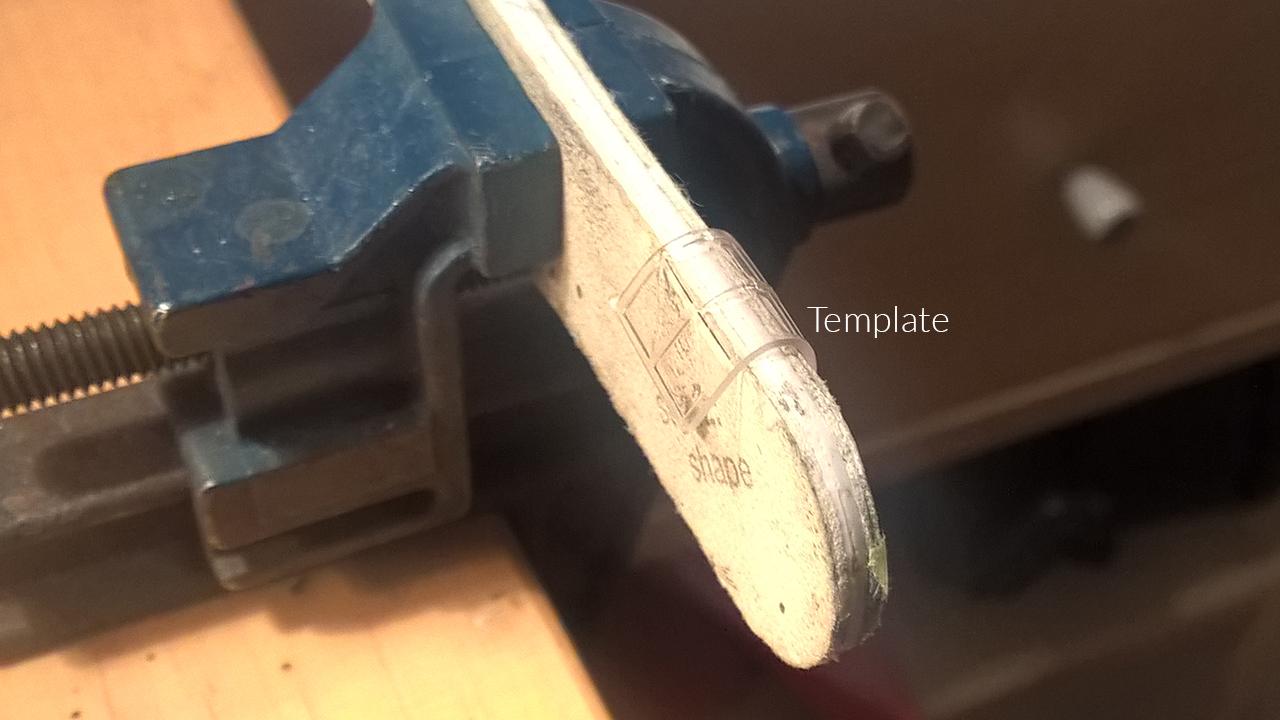
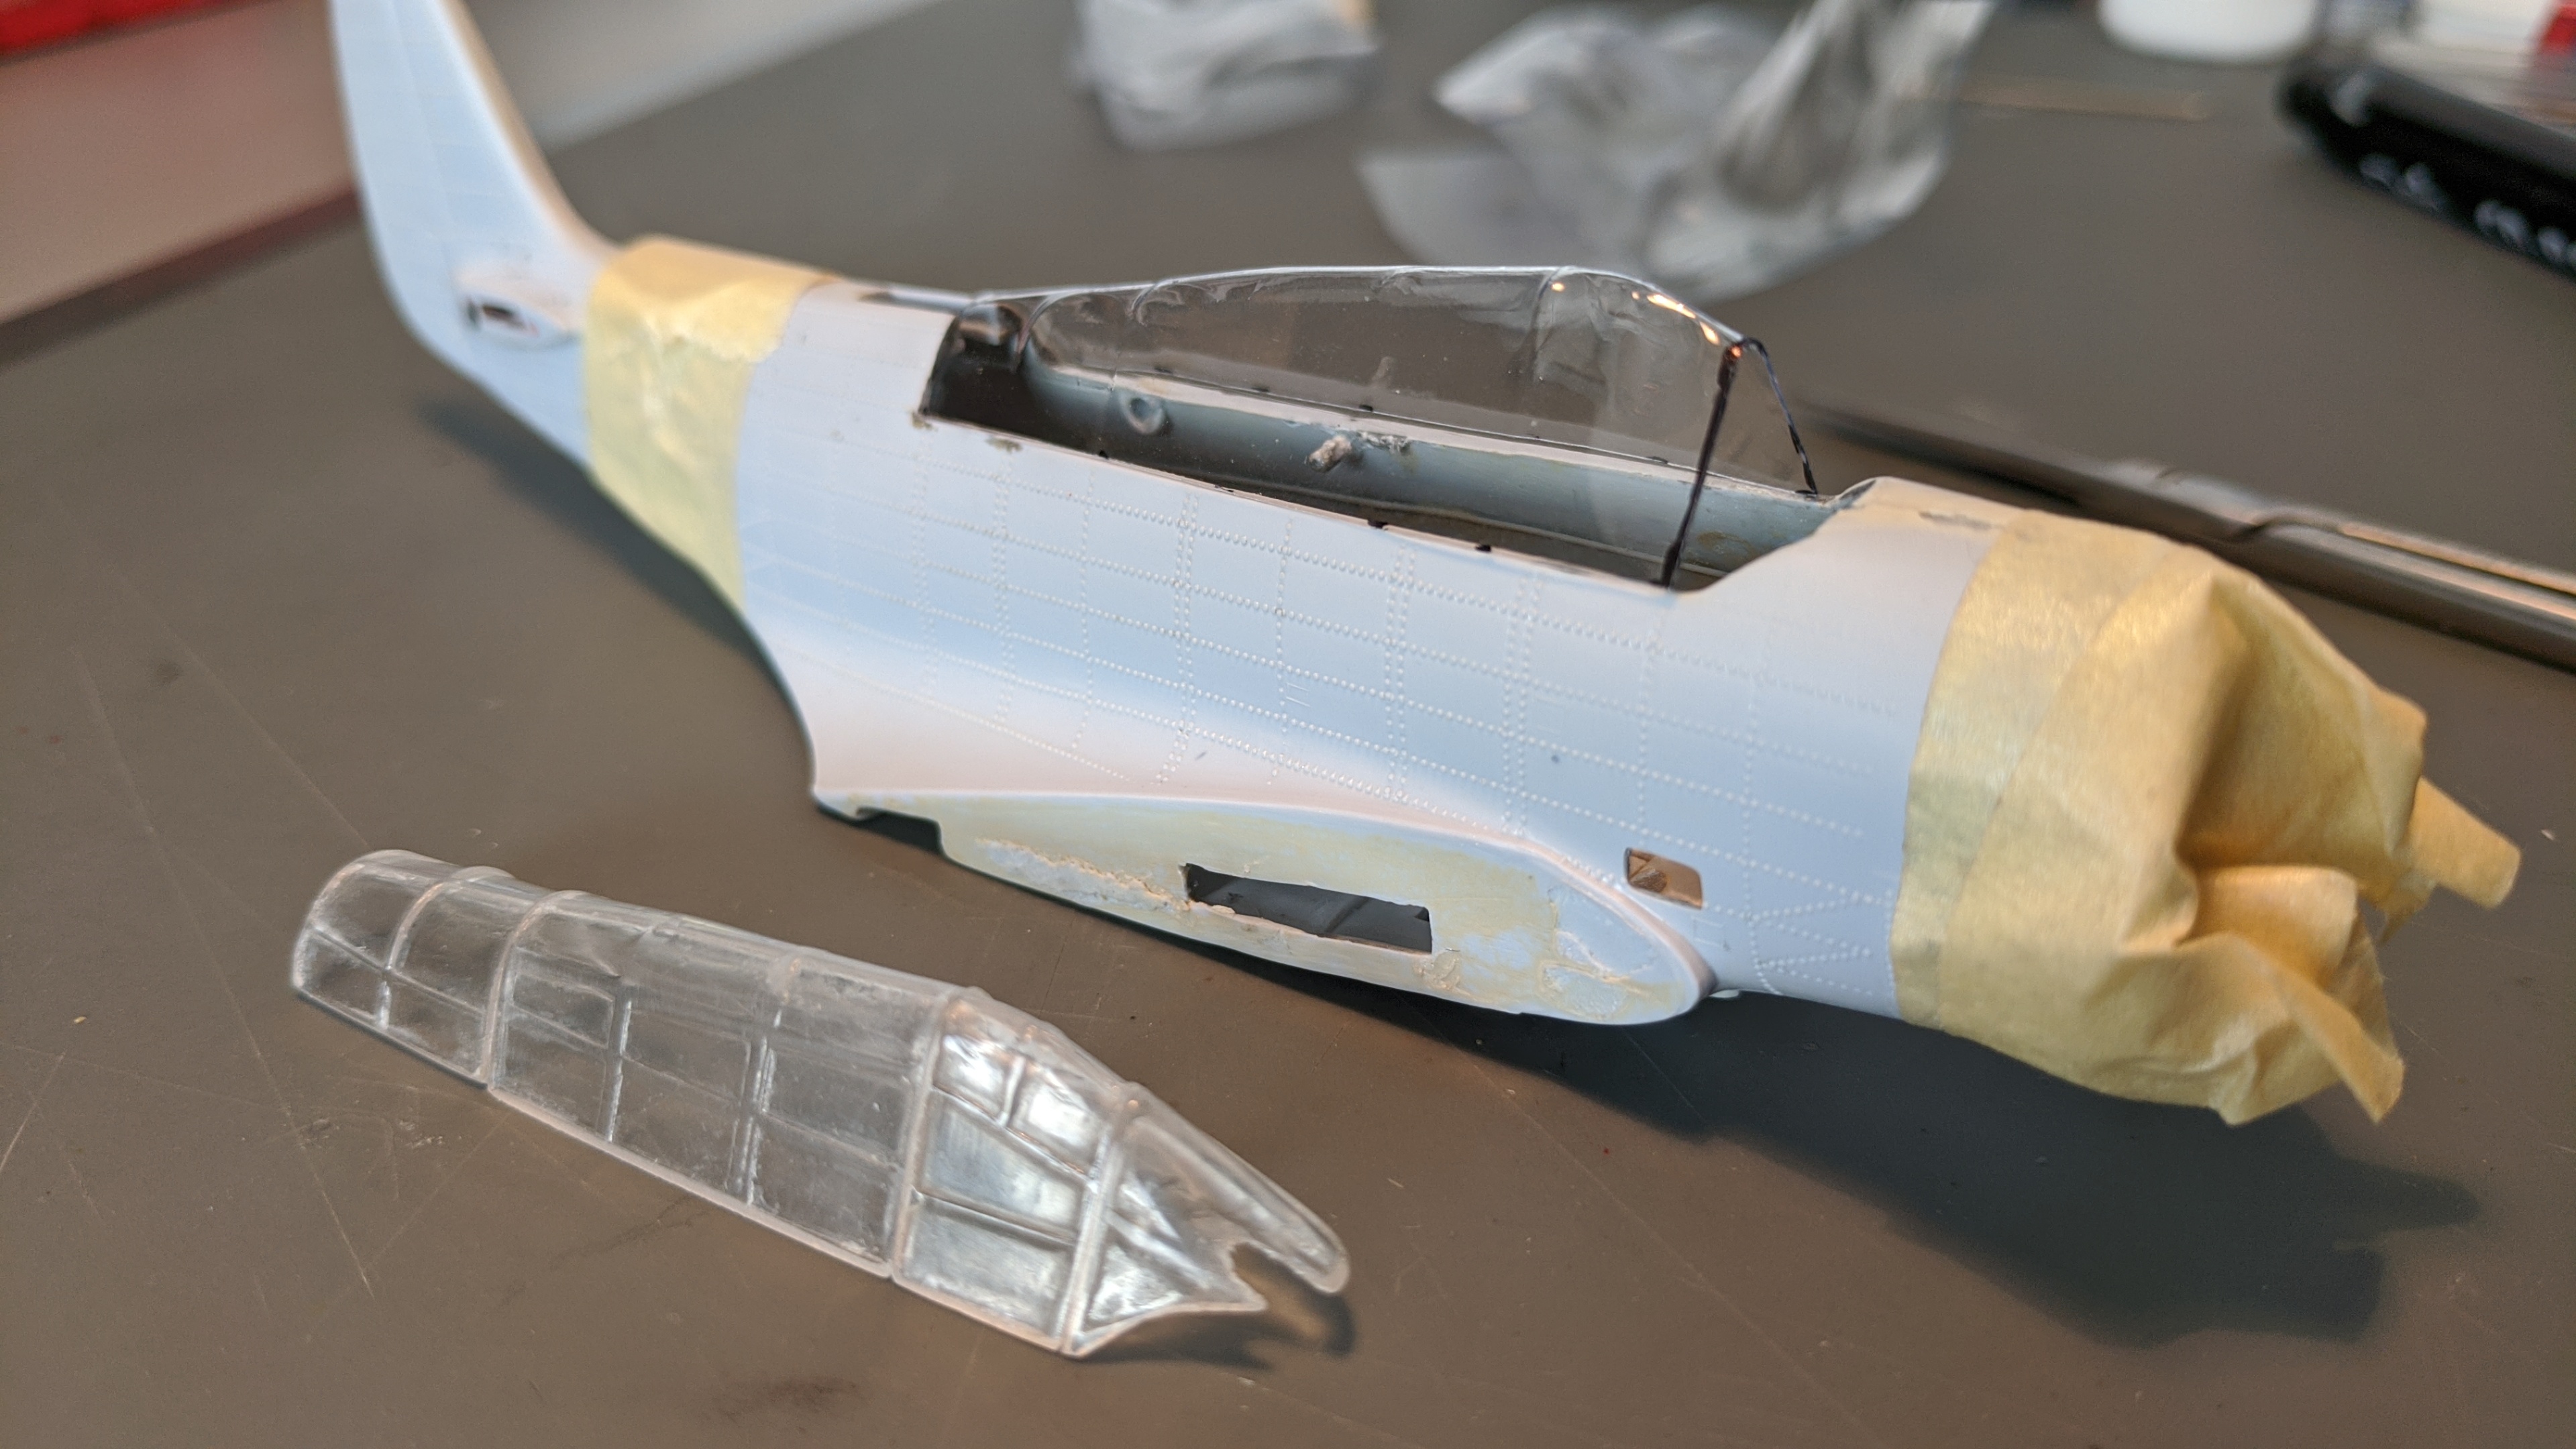
Deburr the original canopy part carefully and test-fit it in the model to confirm it is straight and undamaged. Place it face-down on a small block of scrap wood or dense foam so it cannot slide. You can press a little plasticine or Blu-Tack under the base to stabilise it. The mould does not need to be perfect, but it must not rock or shift while you are pressing the warm plastic — any movement at that moment creates a wrinkled or uneven surface that is very difficult to fix after the fact.
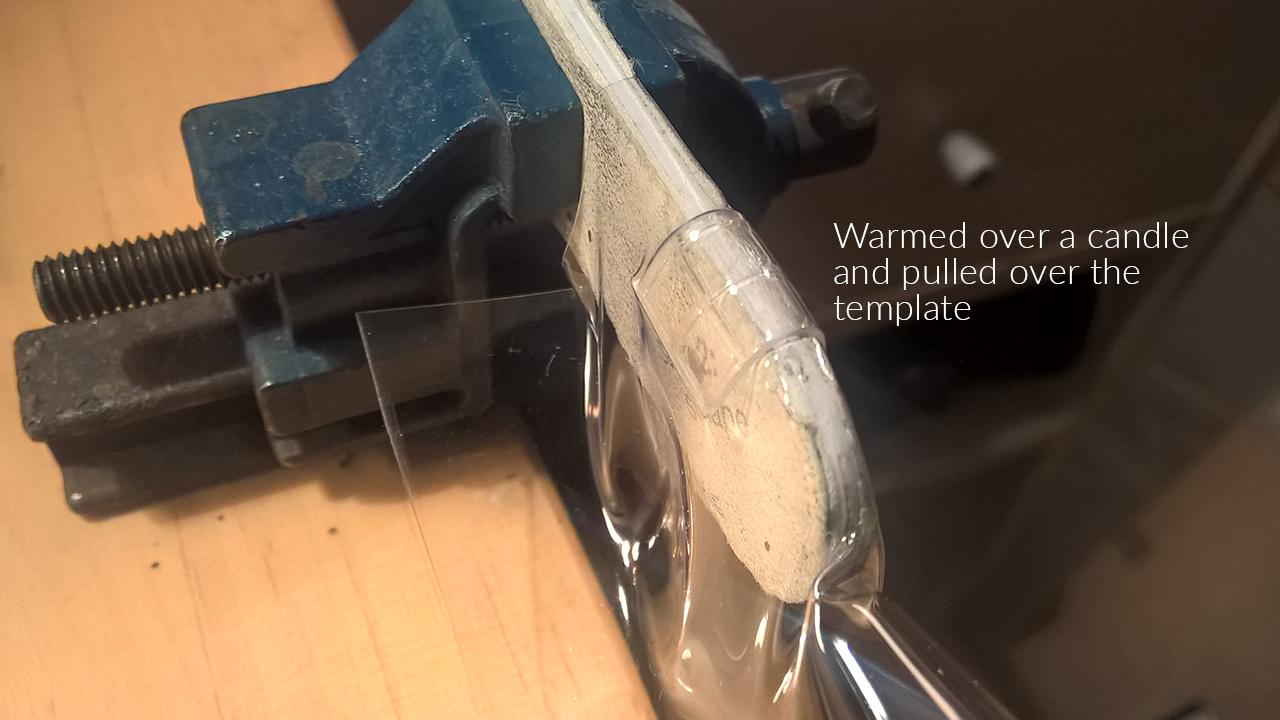
Hold the blister sheet over a low heat gun or above a pan of boiling water, keeping it flat and moving it slowly until it softens uniformly. When the material begins to sag slightly under its own weight it is ready. Lower it onto the mould and press it down gently from the centre outward, working out any trapped air. Keep light pressure on it for twenty to thirty seconds while it cools. Do not rush — pulling the part off before it has set will spring it out of shape.
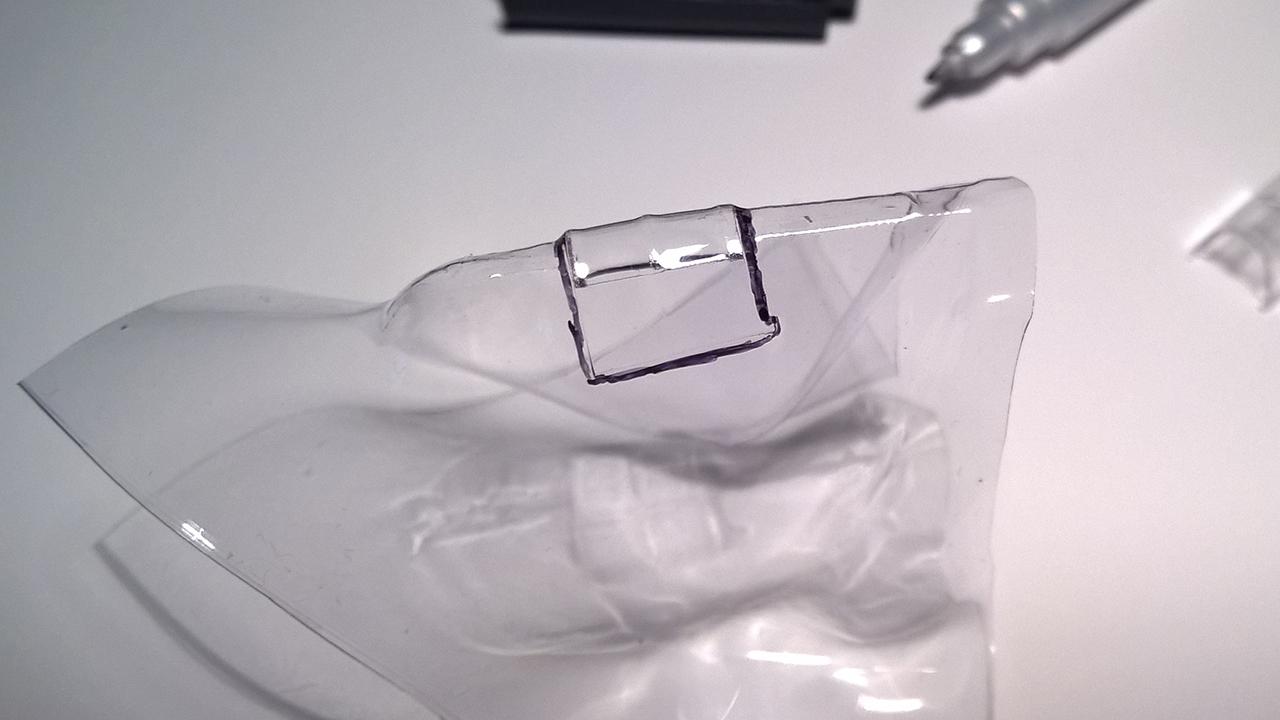
Once the new canopy has cooled completely, place the original kit part inside it and use a fine CD marker or a light pencil to trace the cutting line. Leave a generous margin of two to three millimetres outside the line on your first cut — you can always remove more material, but you cannot add it back. Work with sharp scissors for the broad strokes, then switch to a fresh scalpel blade for the detail cuts along the frame line. Offer the trimmed canopy up to the fuselage frequently: small adjustments at this stage are far easier than large corrections later.
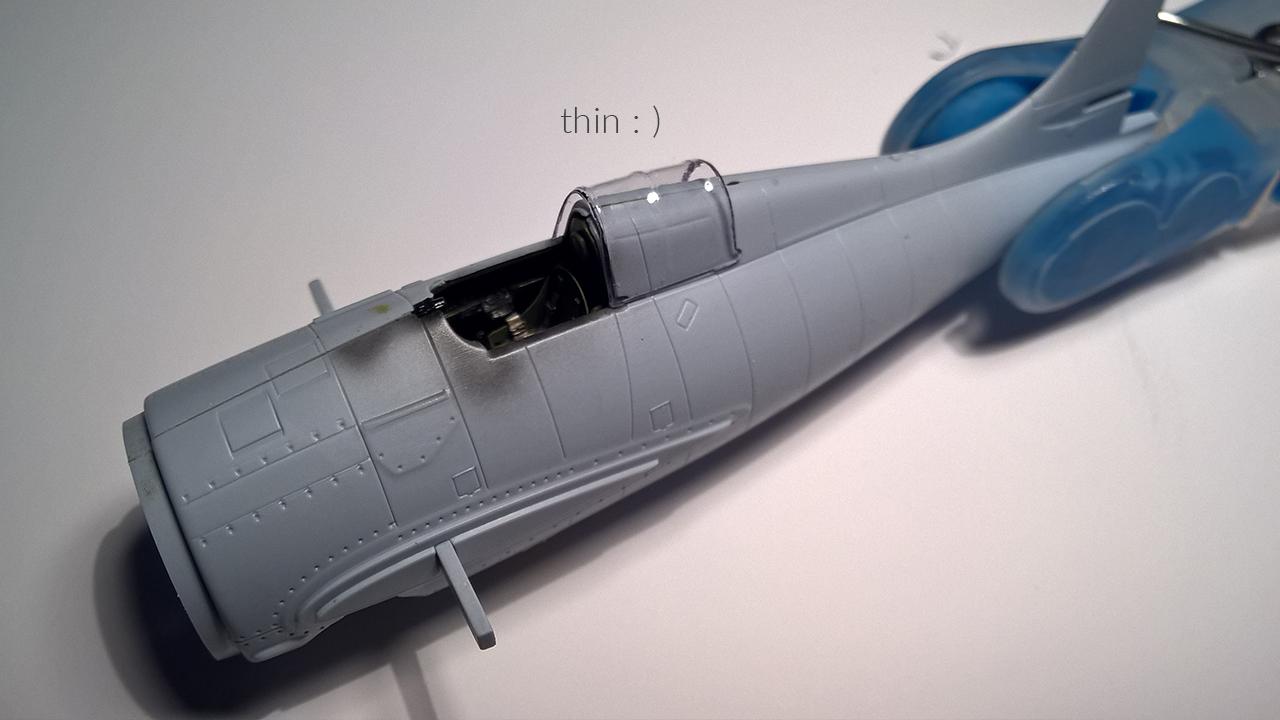
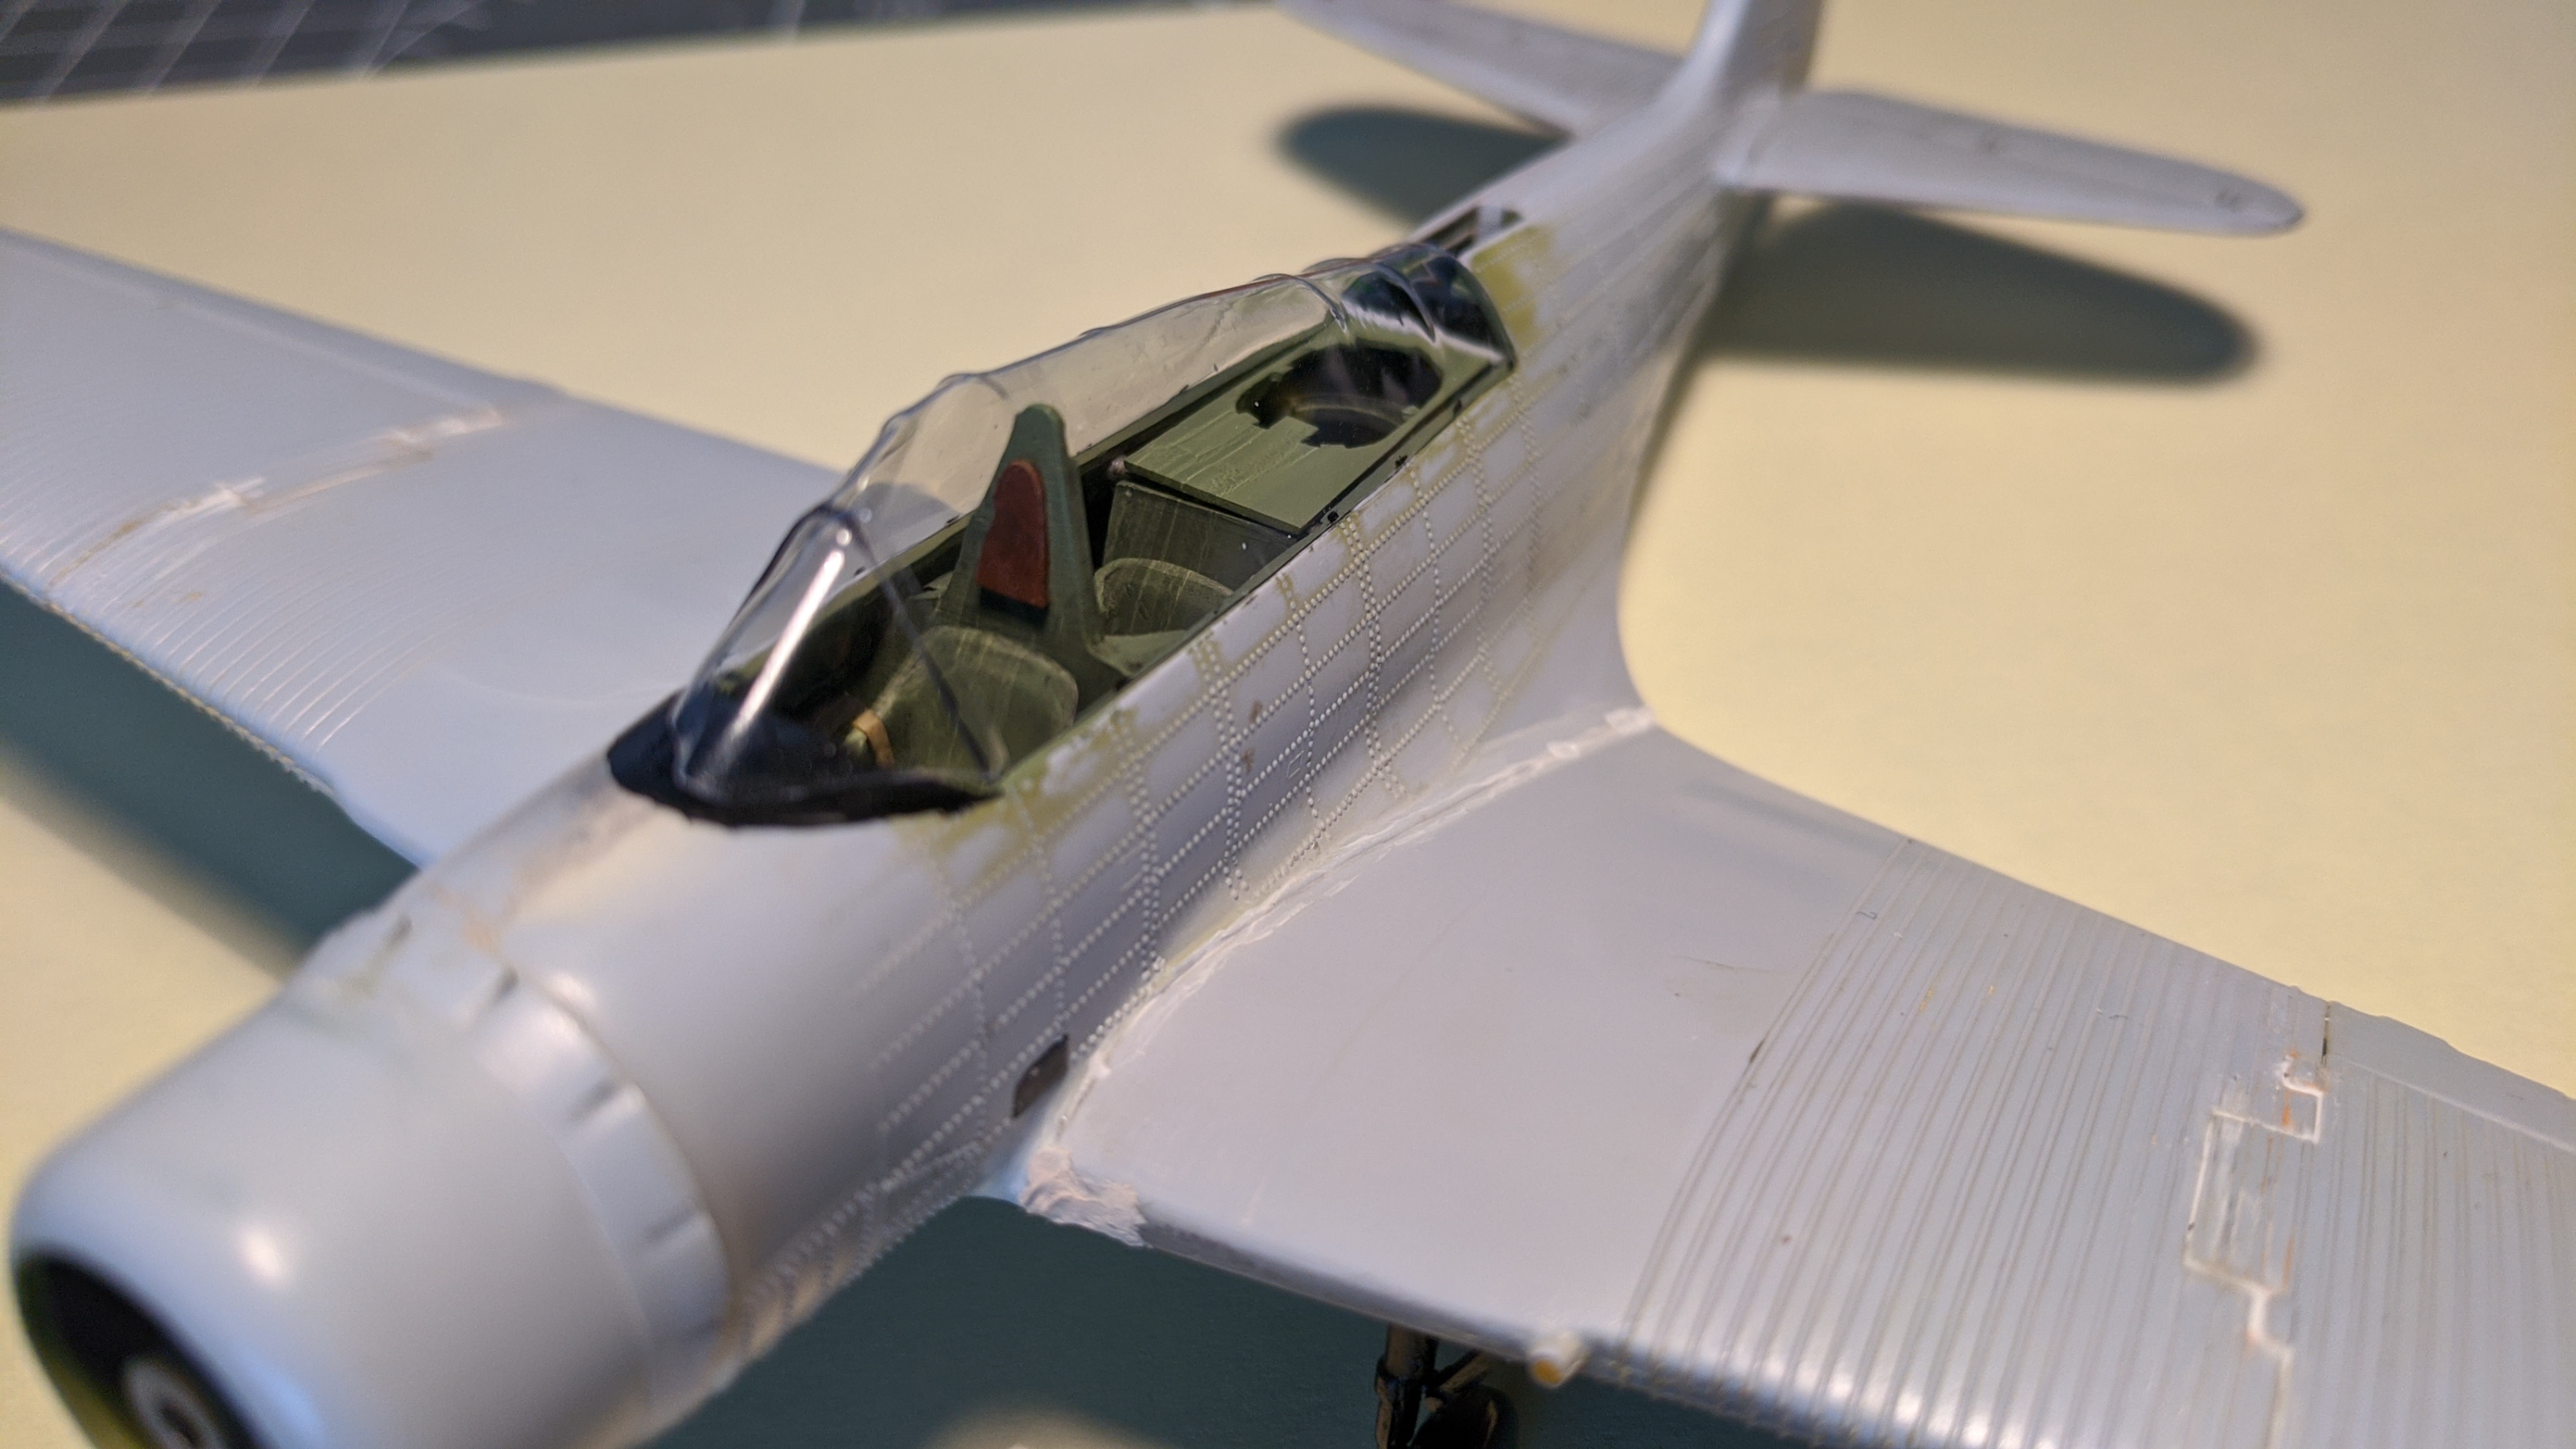
Sand the edges smooth with 800-grit wet-and-dry paper, progressing to 1500 and then 2000. A few strokes of a polishing cloth or a drop of Tamiya Compound on a cotton bud will restore perfect clarity to any edge that has gone milky from sanding. The flat edge of a steel ruler held against the canopy edge while you sand helps maintain a clean, straight frame line. Before gluing, check the fit dry — blister-formed canopies are often slightly springy, so a small amount of white glue or canopy cement along the interior frame line works better than liquid cement, which melts the material.
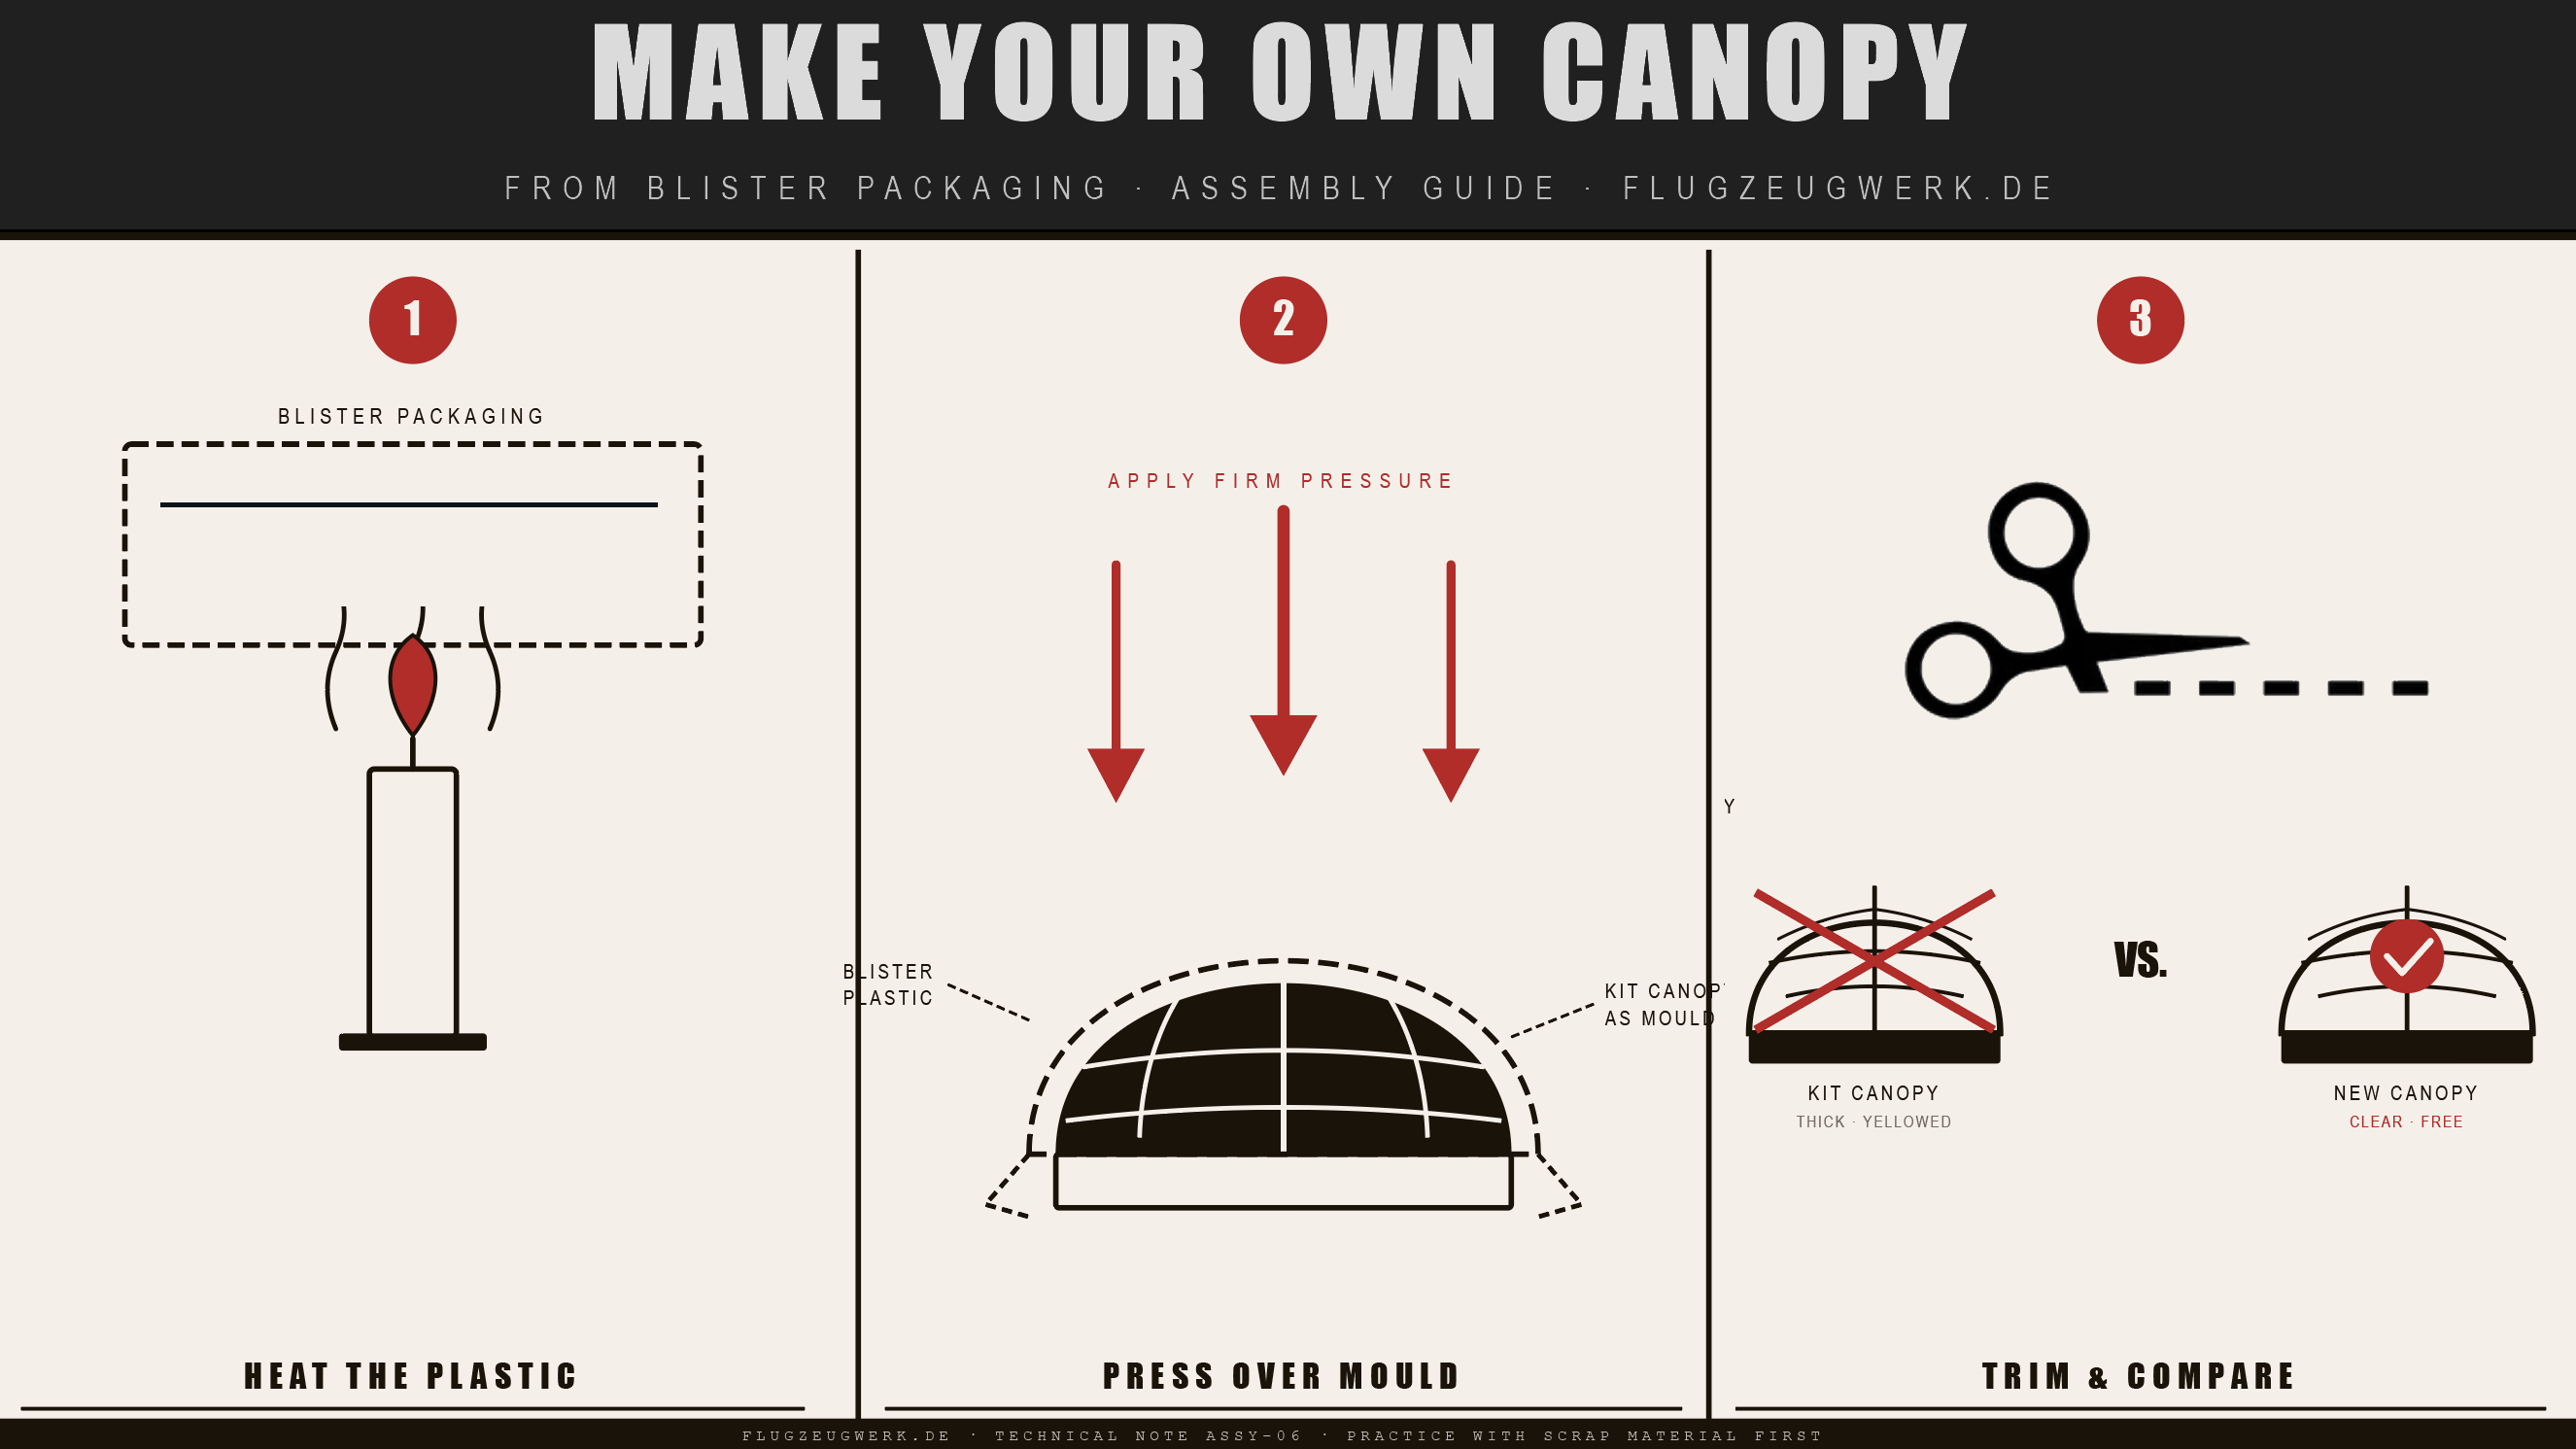
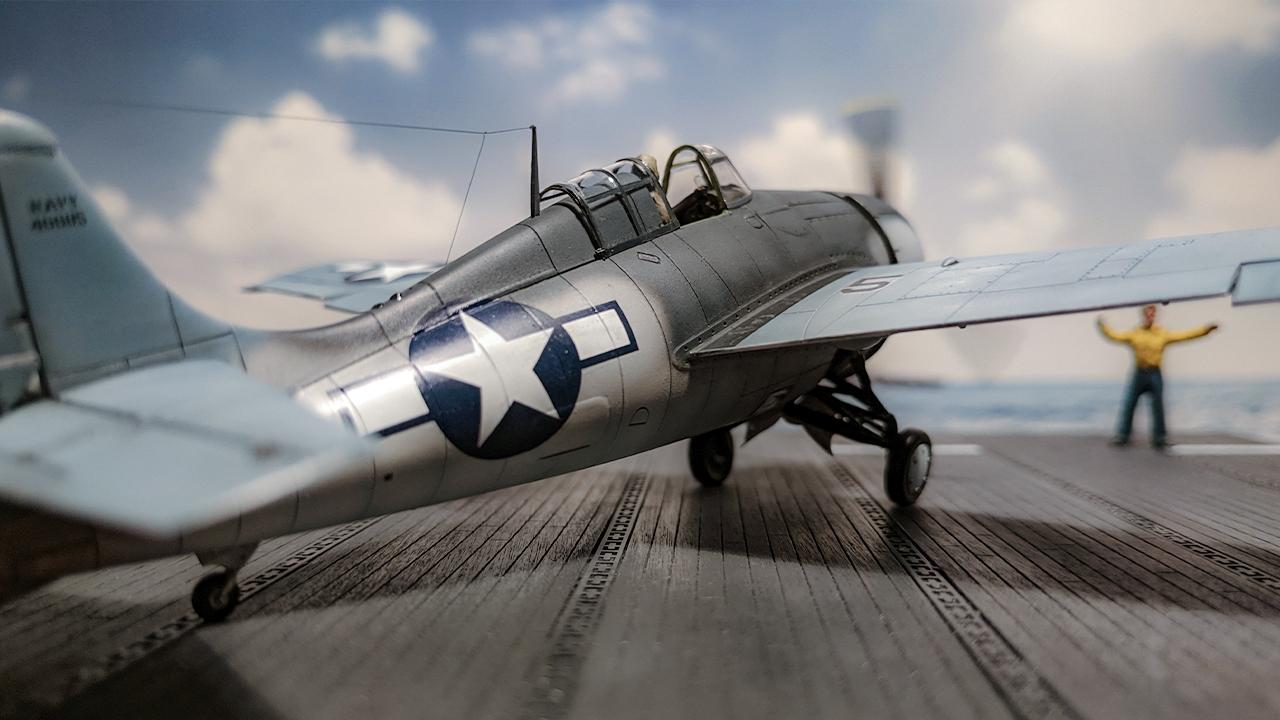
The finished canopy will usually be noticeably clearer than the kit original, simply because blister packaging is produced to a very tight optical standard — retailers need customers to see the product inside. That transparency, combined with the crisp, thin shape achieved by press-forming, makes this technique one of the most rewarding quick wins in the hobby.