Build Report
About This Build
The Subject
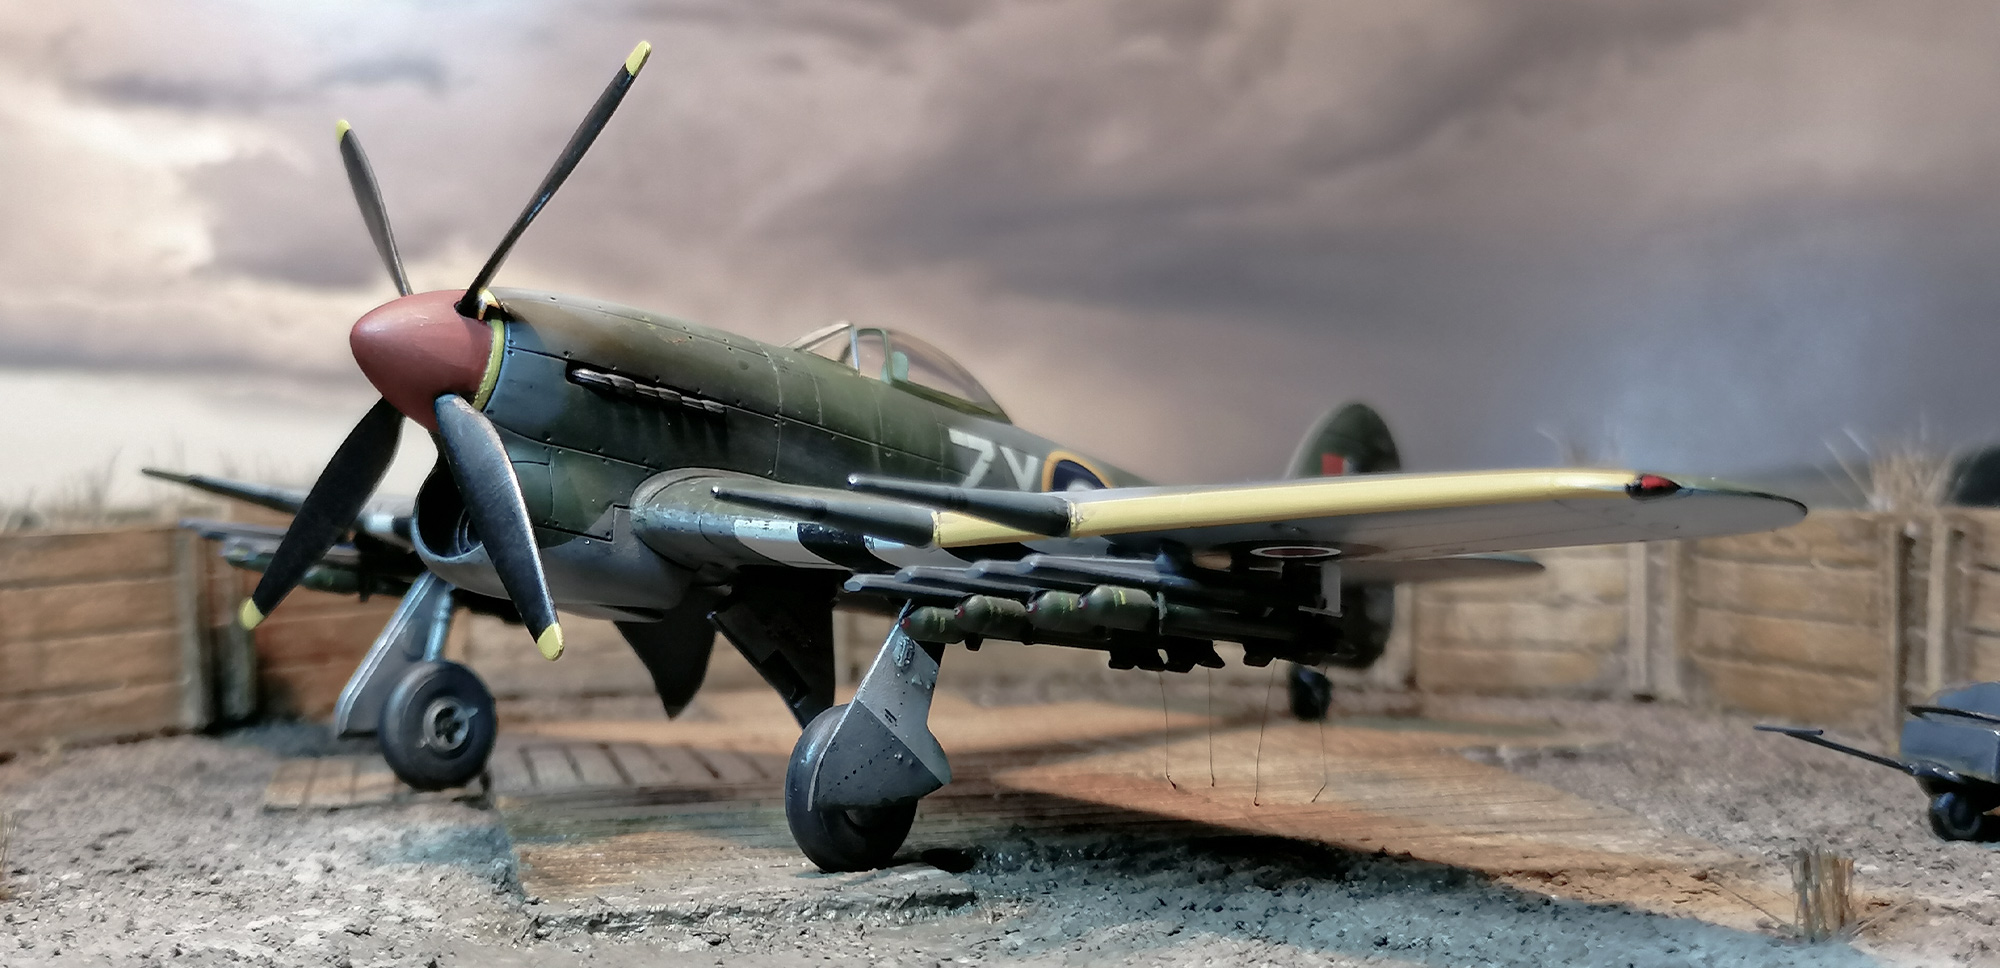
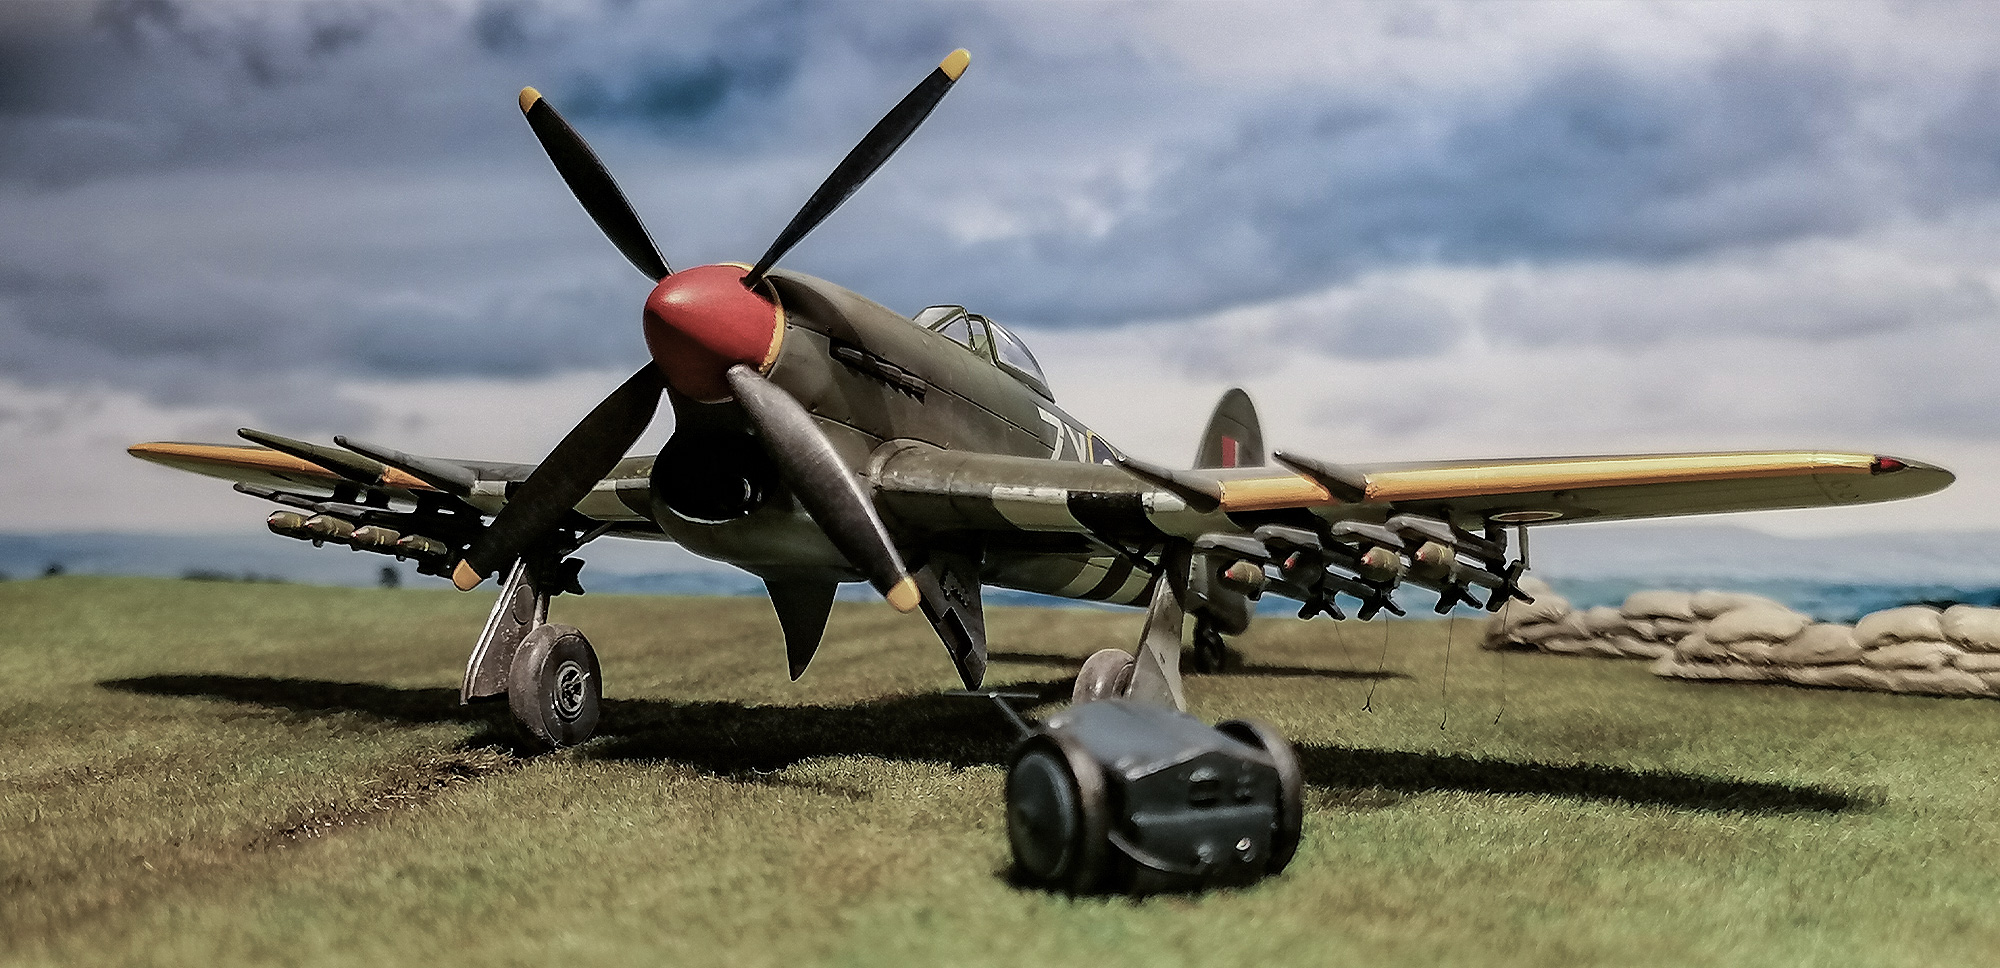
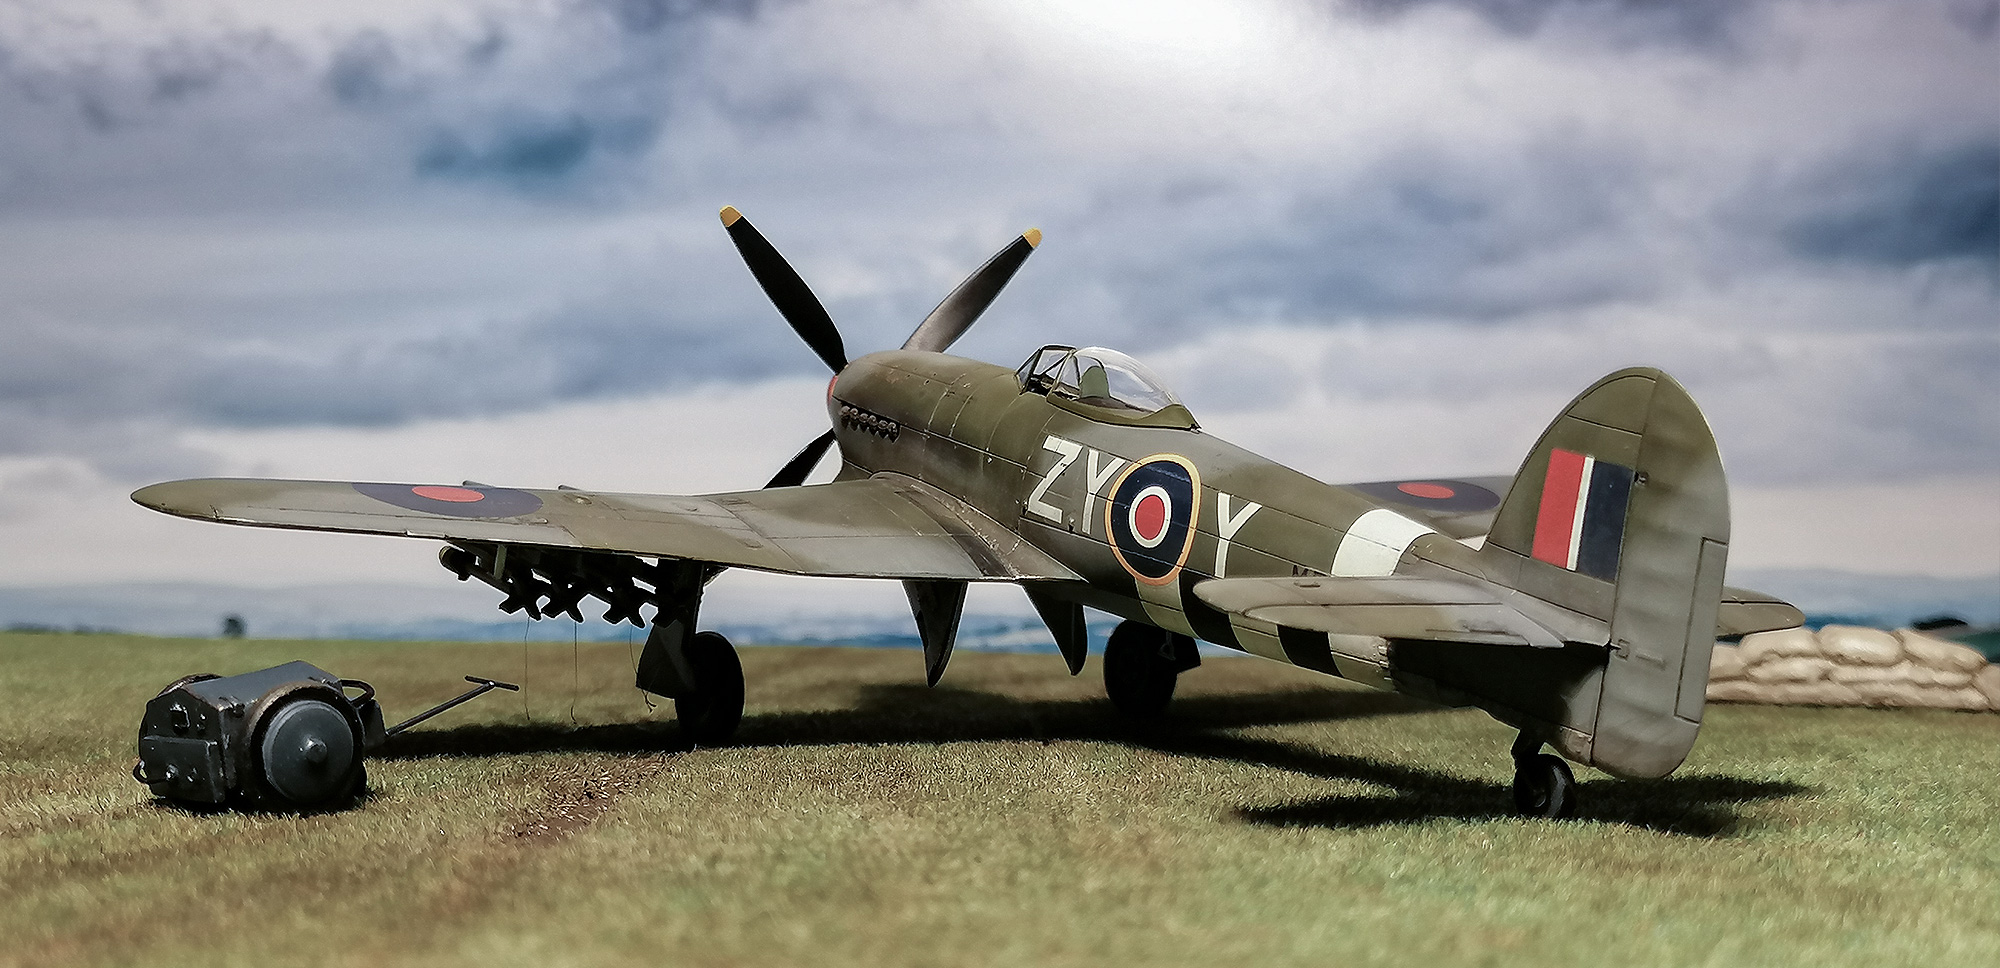
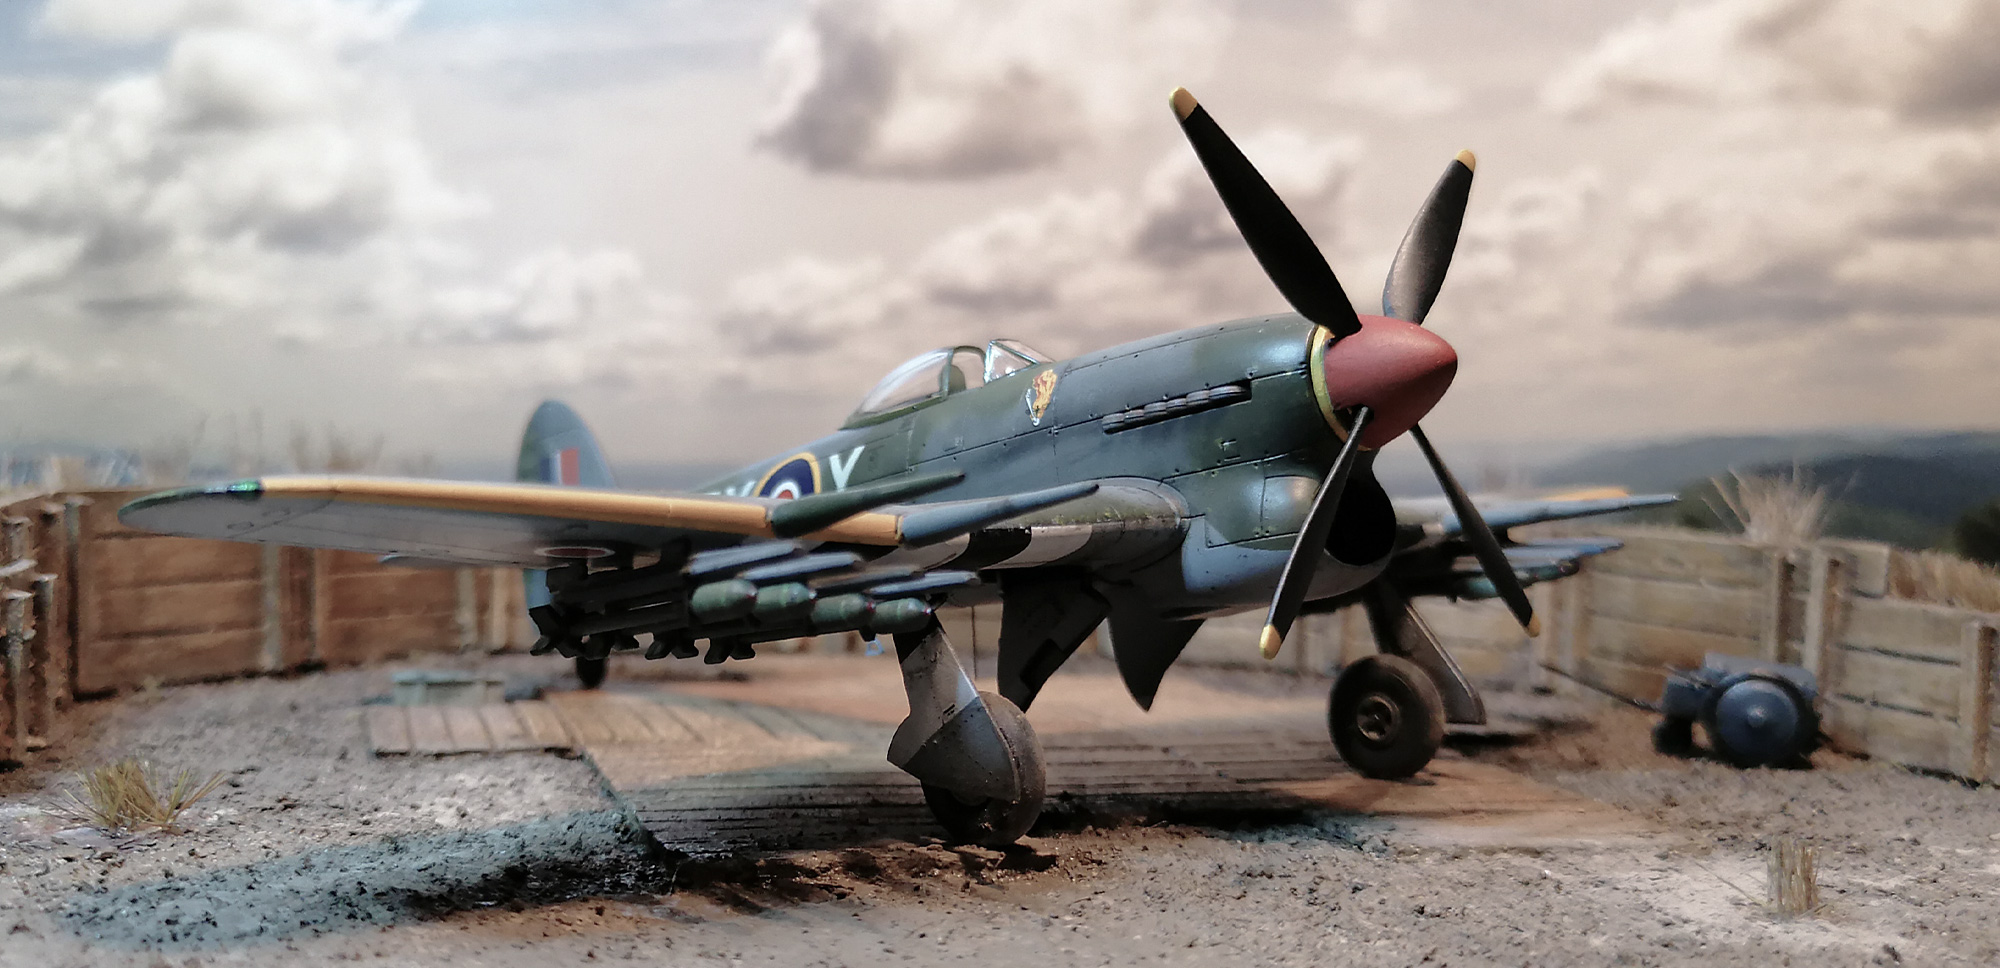
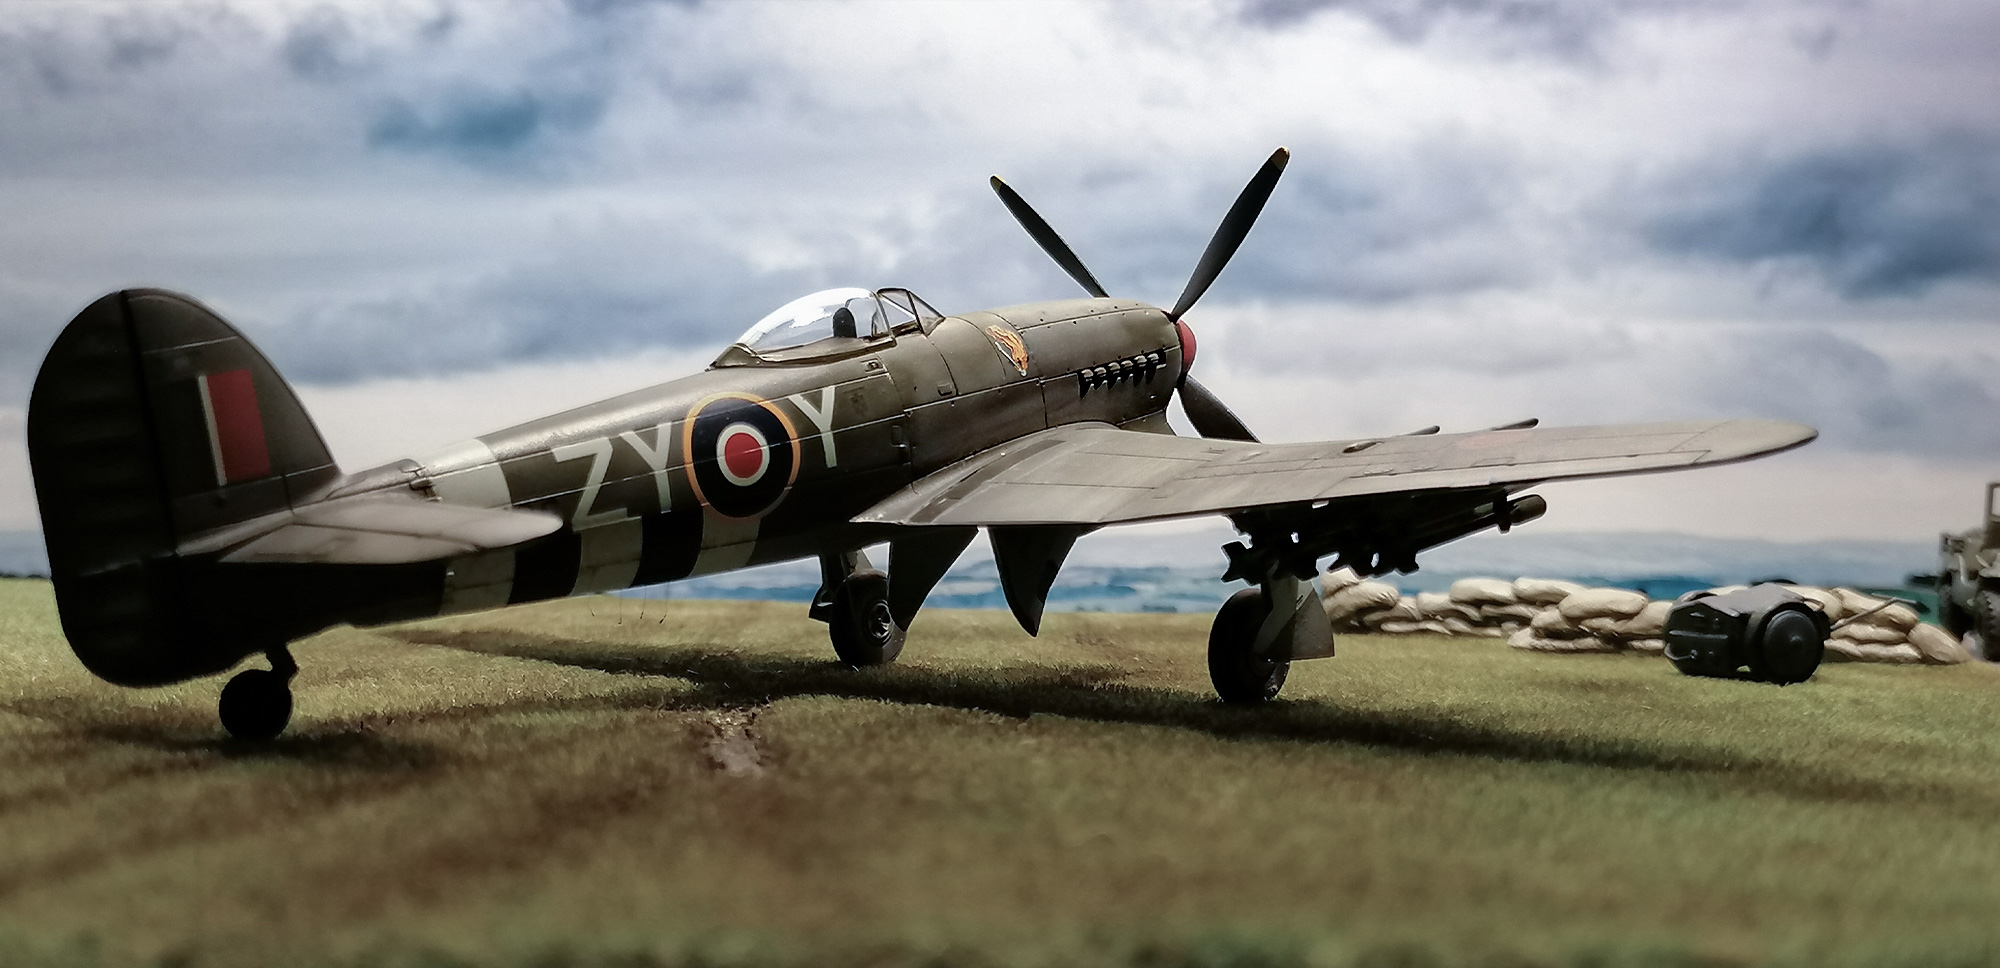
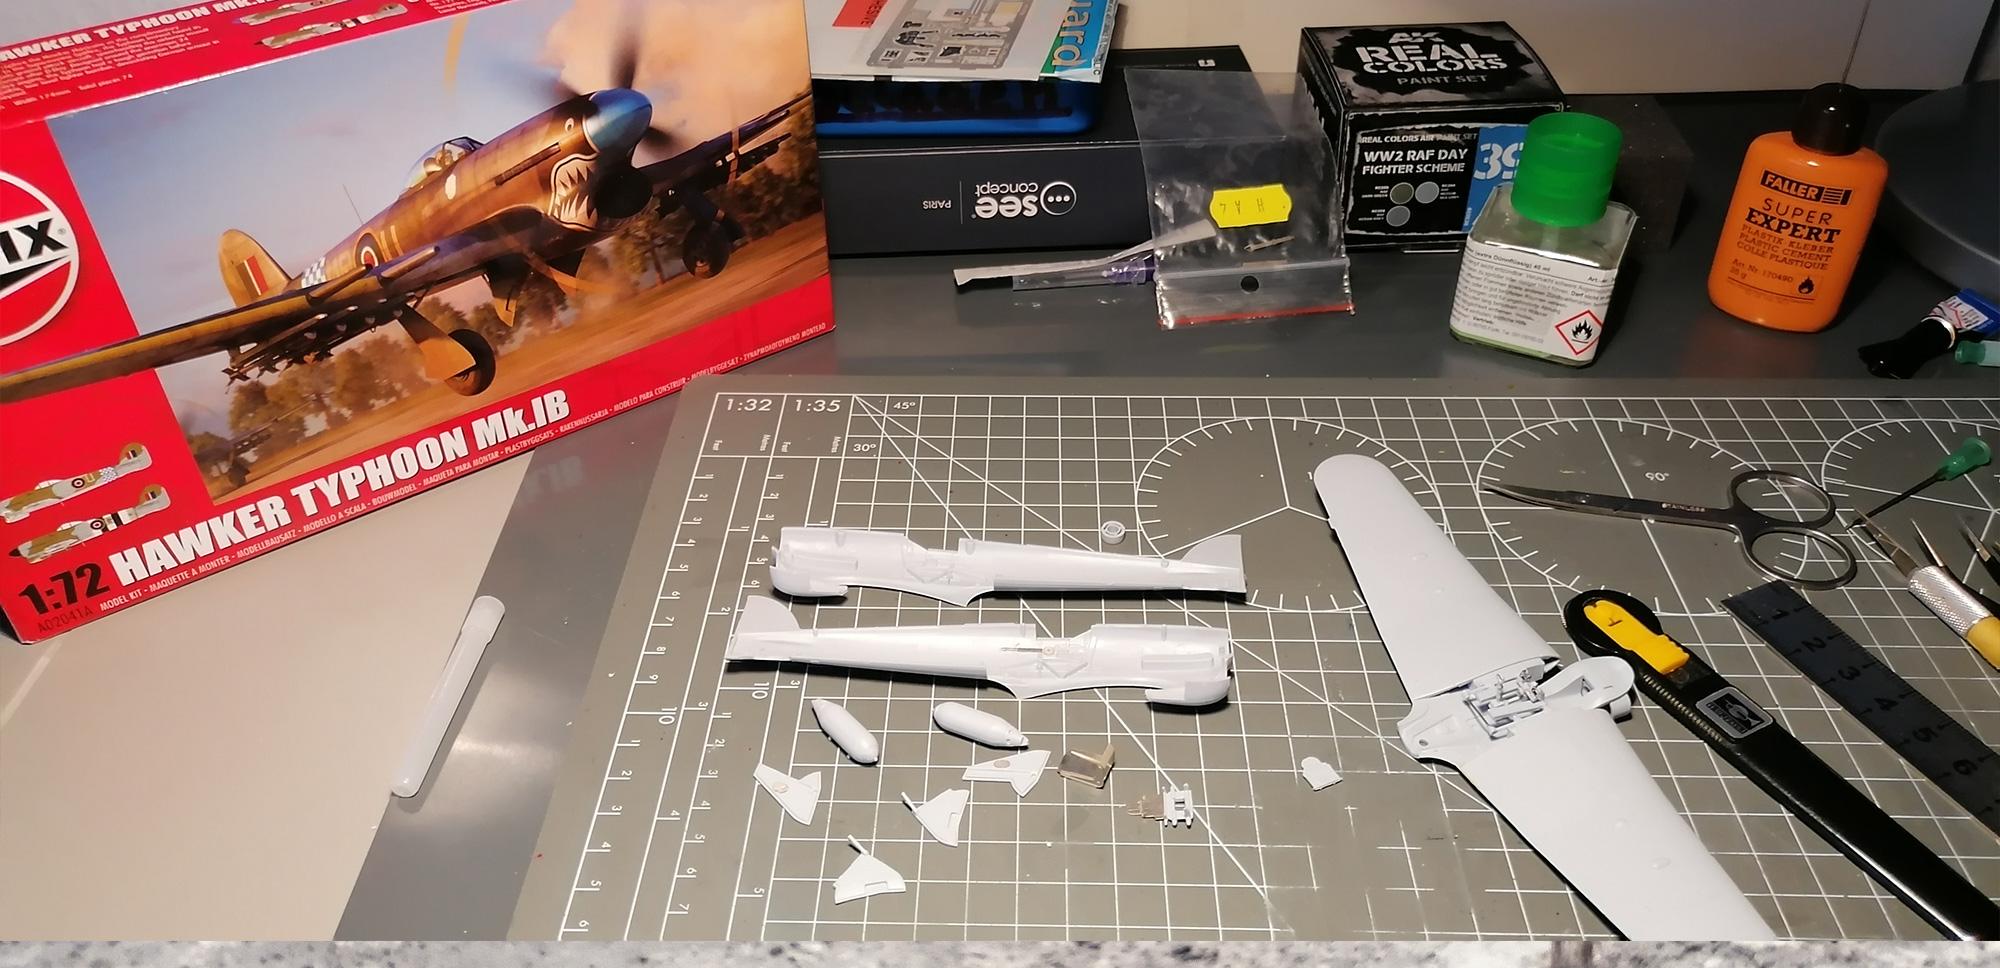
My first Hawker Typhoon — the "Tiffy" — built from the new-tooled Airfix kit in 1/72 scale. The Typhoon was one of the most capable ground attack aircraft of the Second World War, originally developed as a high-altitude interceptor but ultimately finding its true calling at low level. Armed with four 20 mm Hispano cannon and capable of carrying rockets or bombs under its wings, it became the go-to weapon for Allied tactical air power in Northwest Europe — smashing enemy transport, armour, and supply lines ahead of the advancing armies.
Inspiration
My inspiration was the large 1/24 Airfix Typhoon, a gorgeous kit that generates some spectacular builds when you search for it online. Seeing what builders were achieving at that scale convinced me to try the same subject in 1/72 — a rather different challenge, as fine detail that is almost easy to replicate in a 1/24 cockpit becomes a test of patience at the smaller size.
The Kit
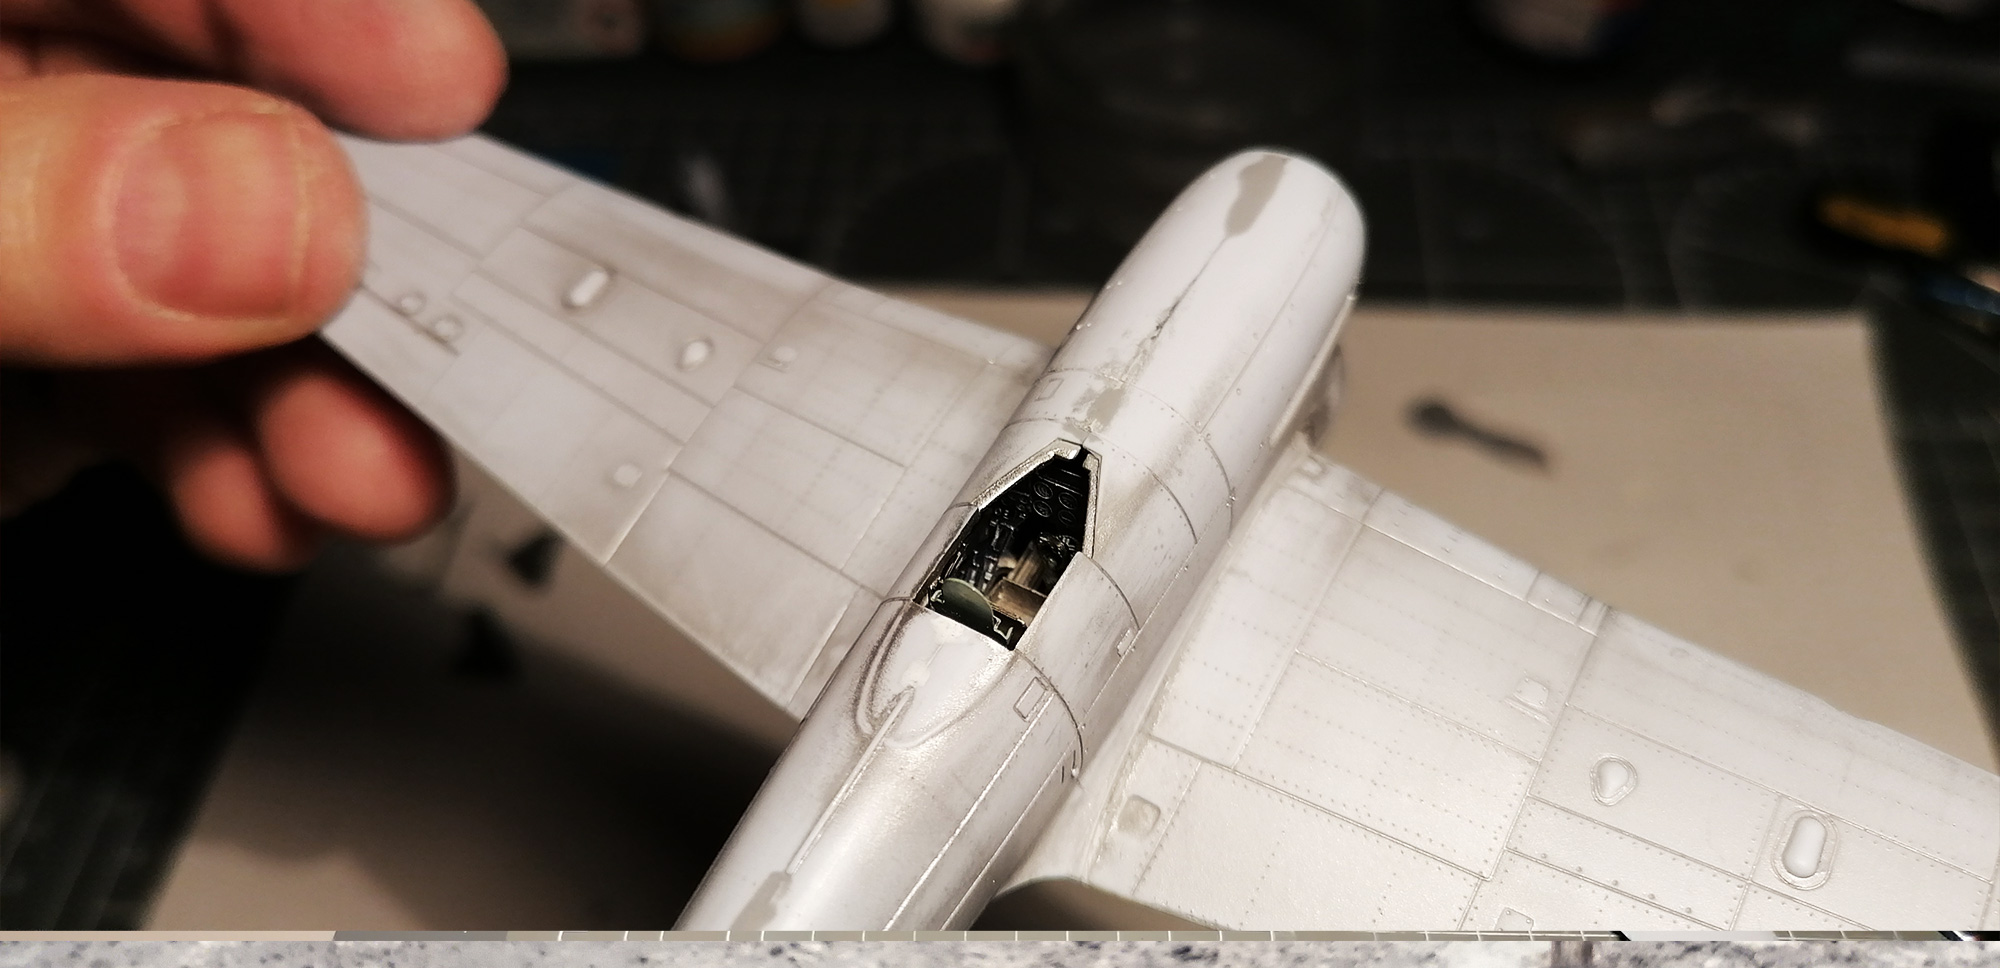
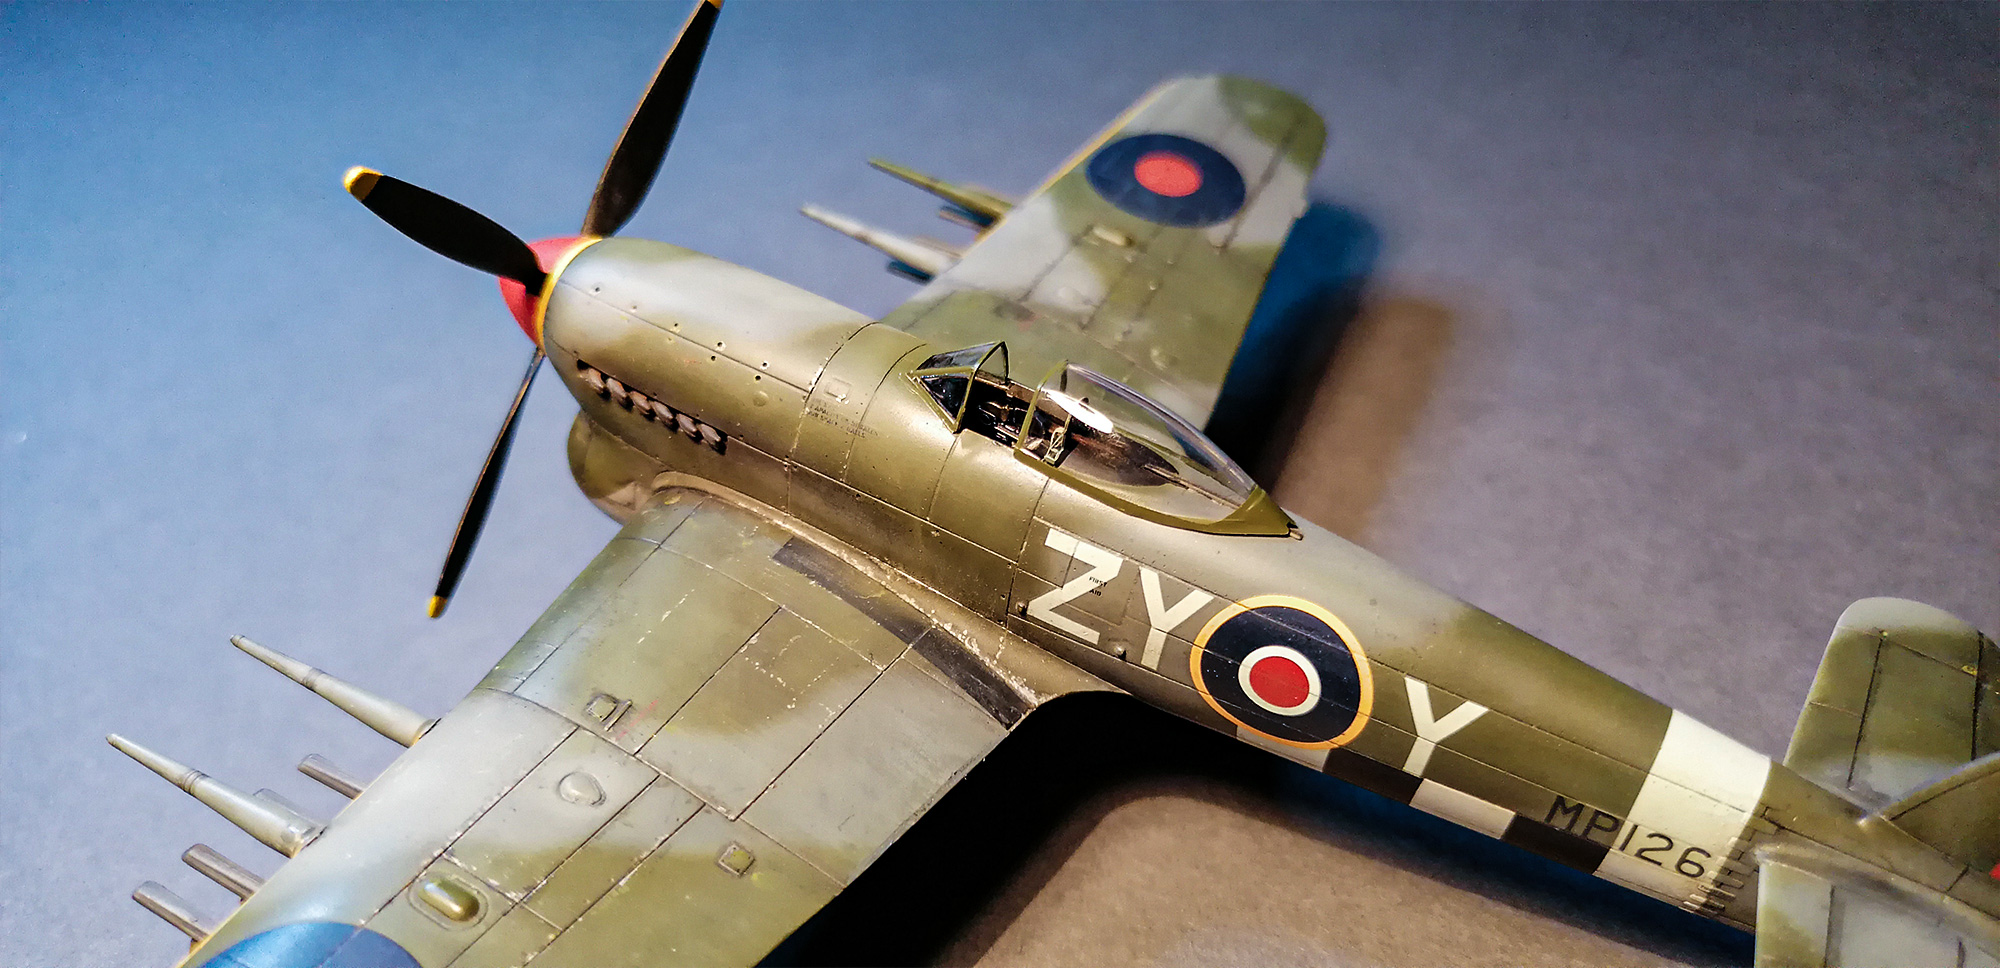
The Airfix kit itself was a pleasure to build. The engraved panel lines are crisp and well-placed, the overall fit is very good, and the decal sheet is excellent — offering two full marking options plus a comprehensive stencil set. The cockpit, however, benefits noticeably from extra attention. I fitted an Eduard photo-etched cockpit set, which replaces the moulded seat harness and instrument panel fascia with sharper, thinner parts. The difference in the finished model is subtle at this scale, but it rewards close-up photography.
Undercarriage
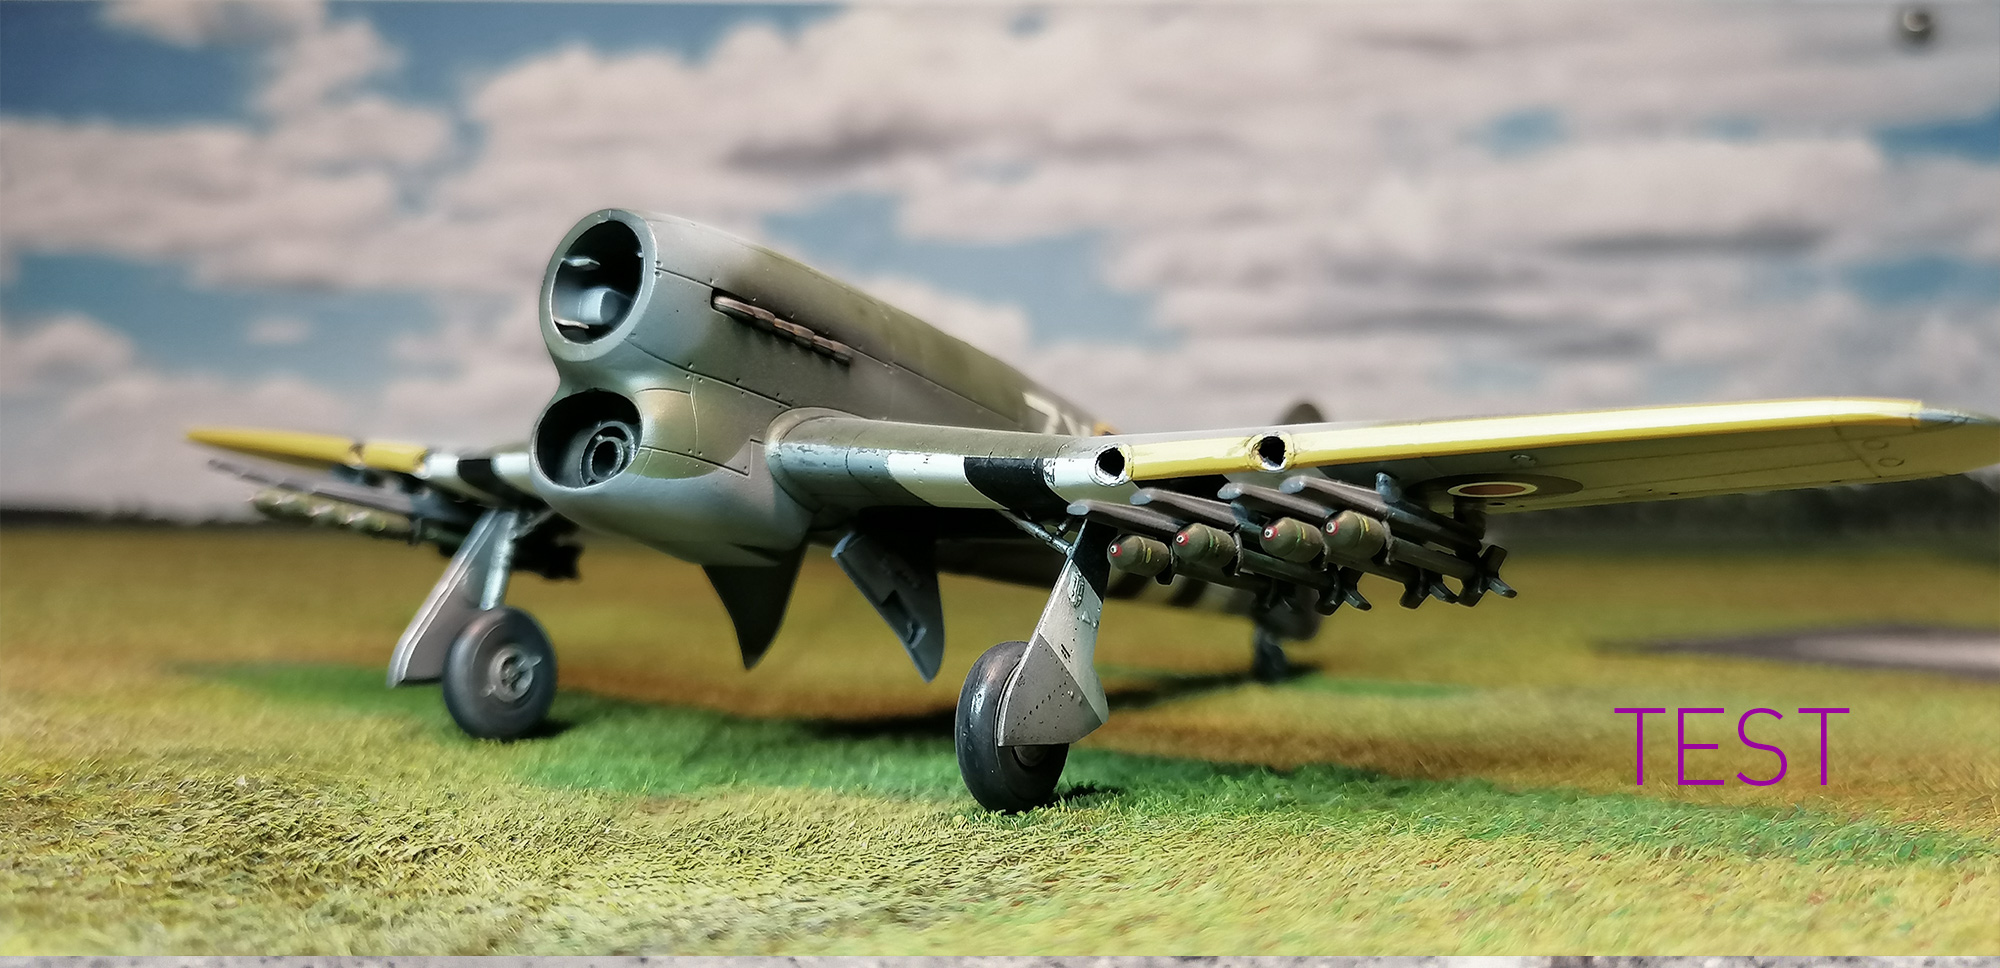
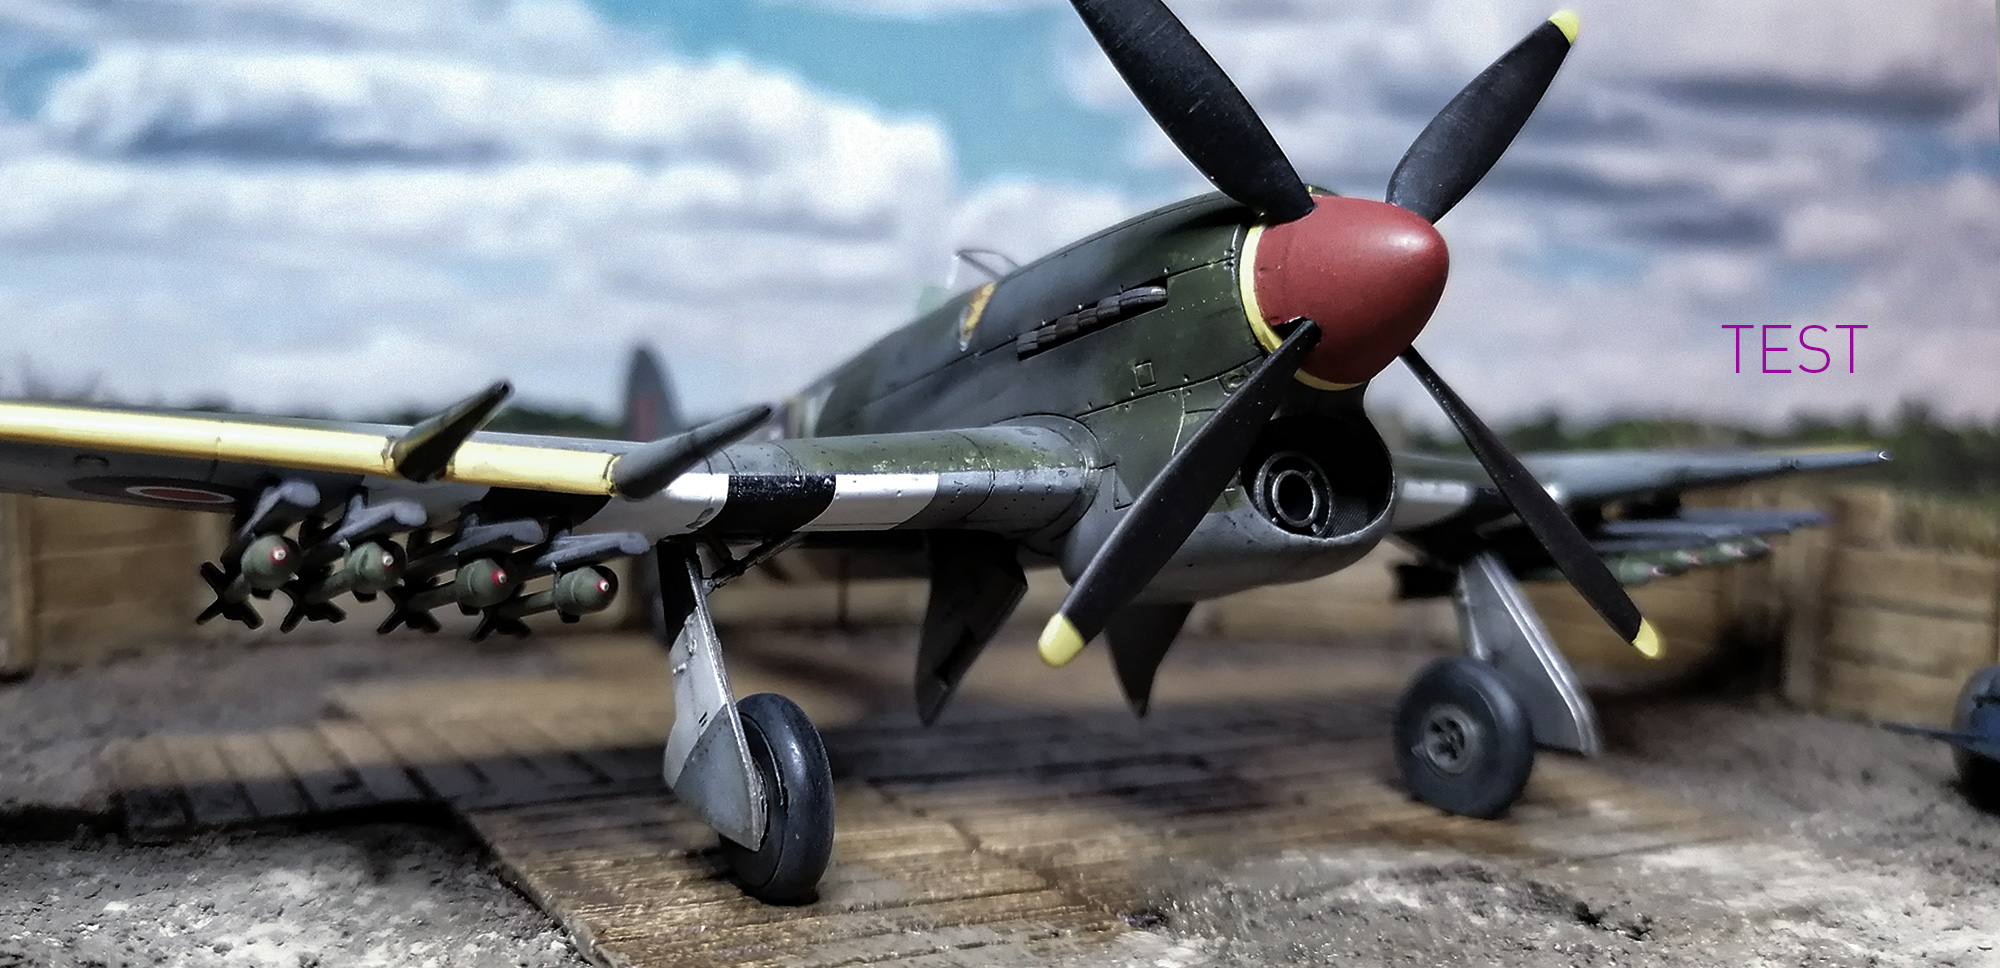
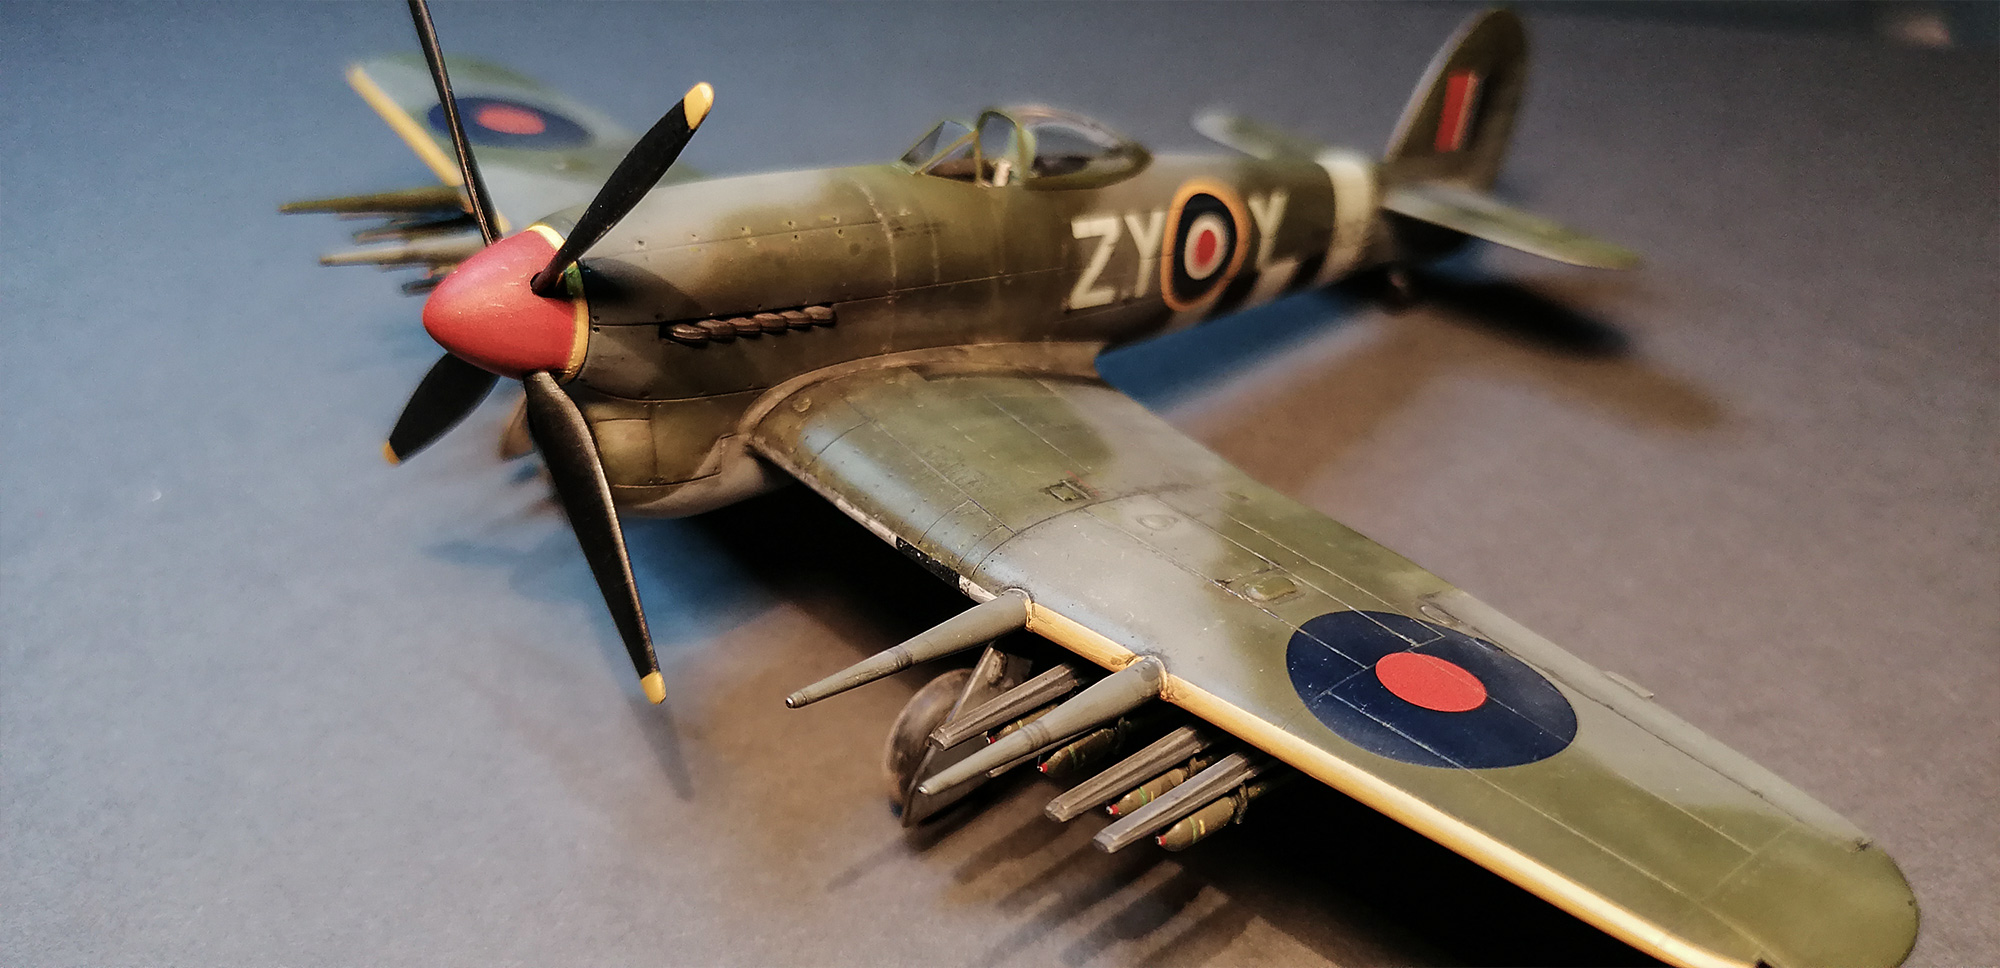
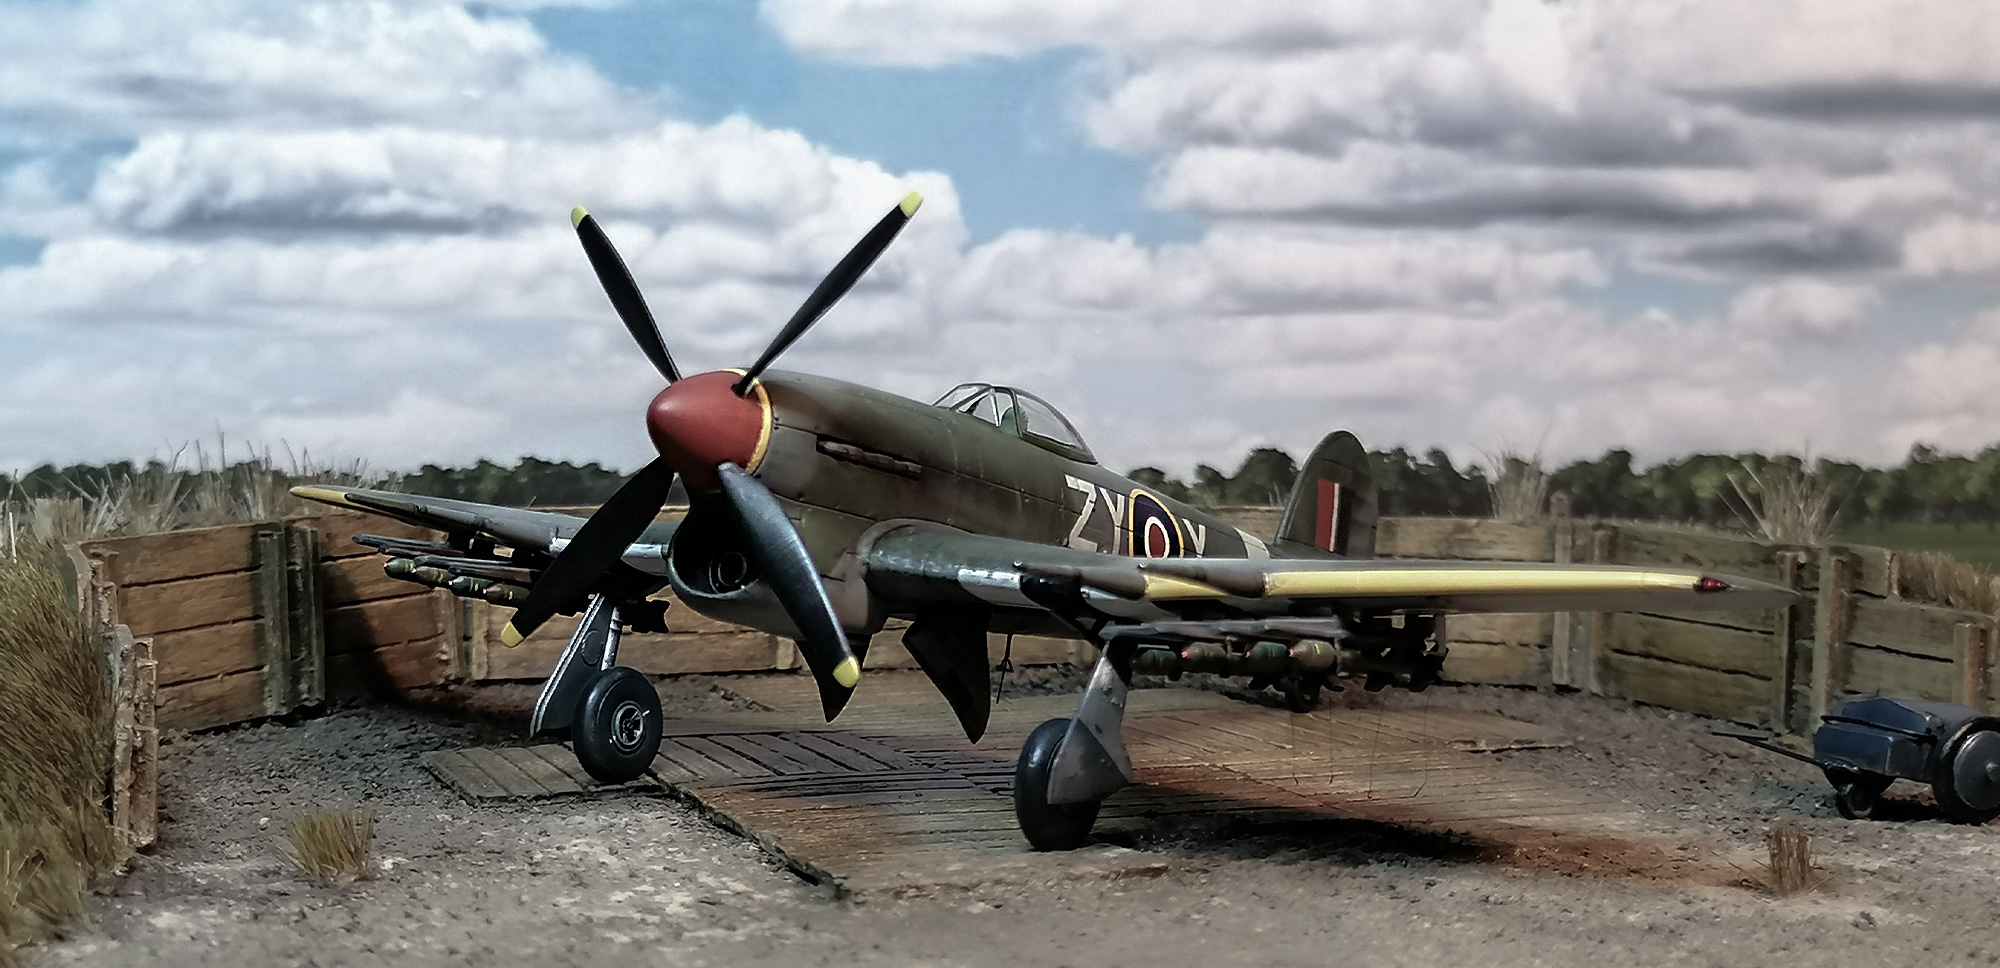
For the undercarriage I used Aires resin wheels (set 7302), which replace the somewhat soft kit tyres with properly flat-spotted resin items that sit convincingly on the ground. The four cannon barrels are aftermarket metal from Master (AM-72-065), far crisper than anything achievable in styrene at 1/72. Both sets of detail parts are straightforward to fit and make a genuine difference to the finished model's appearance.
Lessons Learned
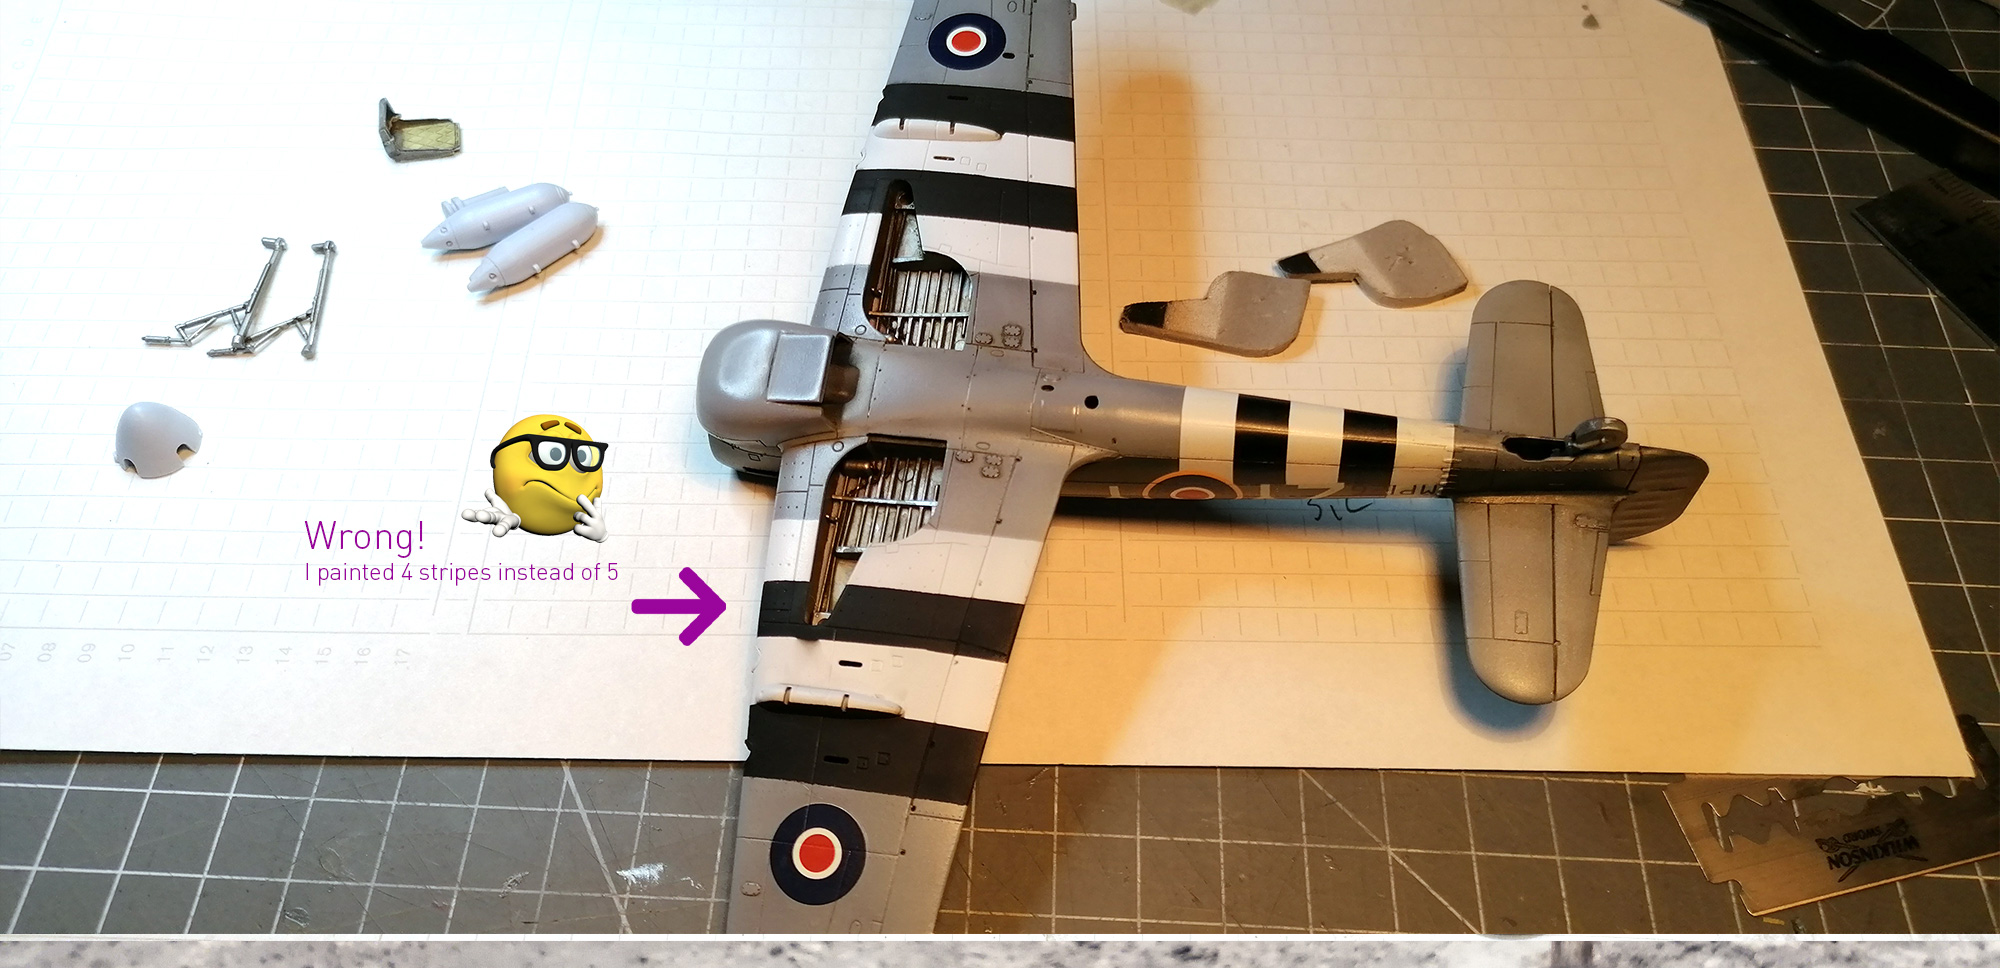
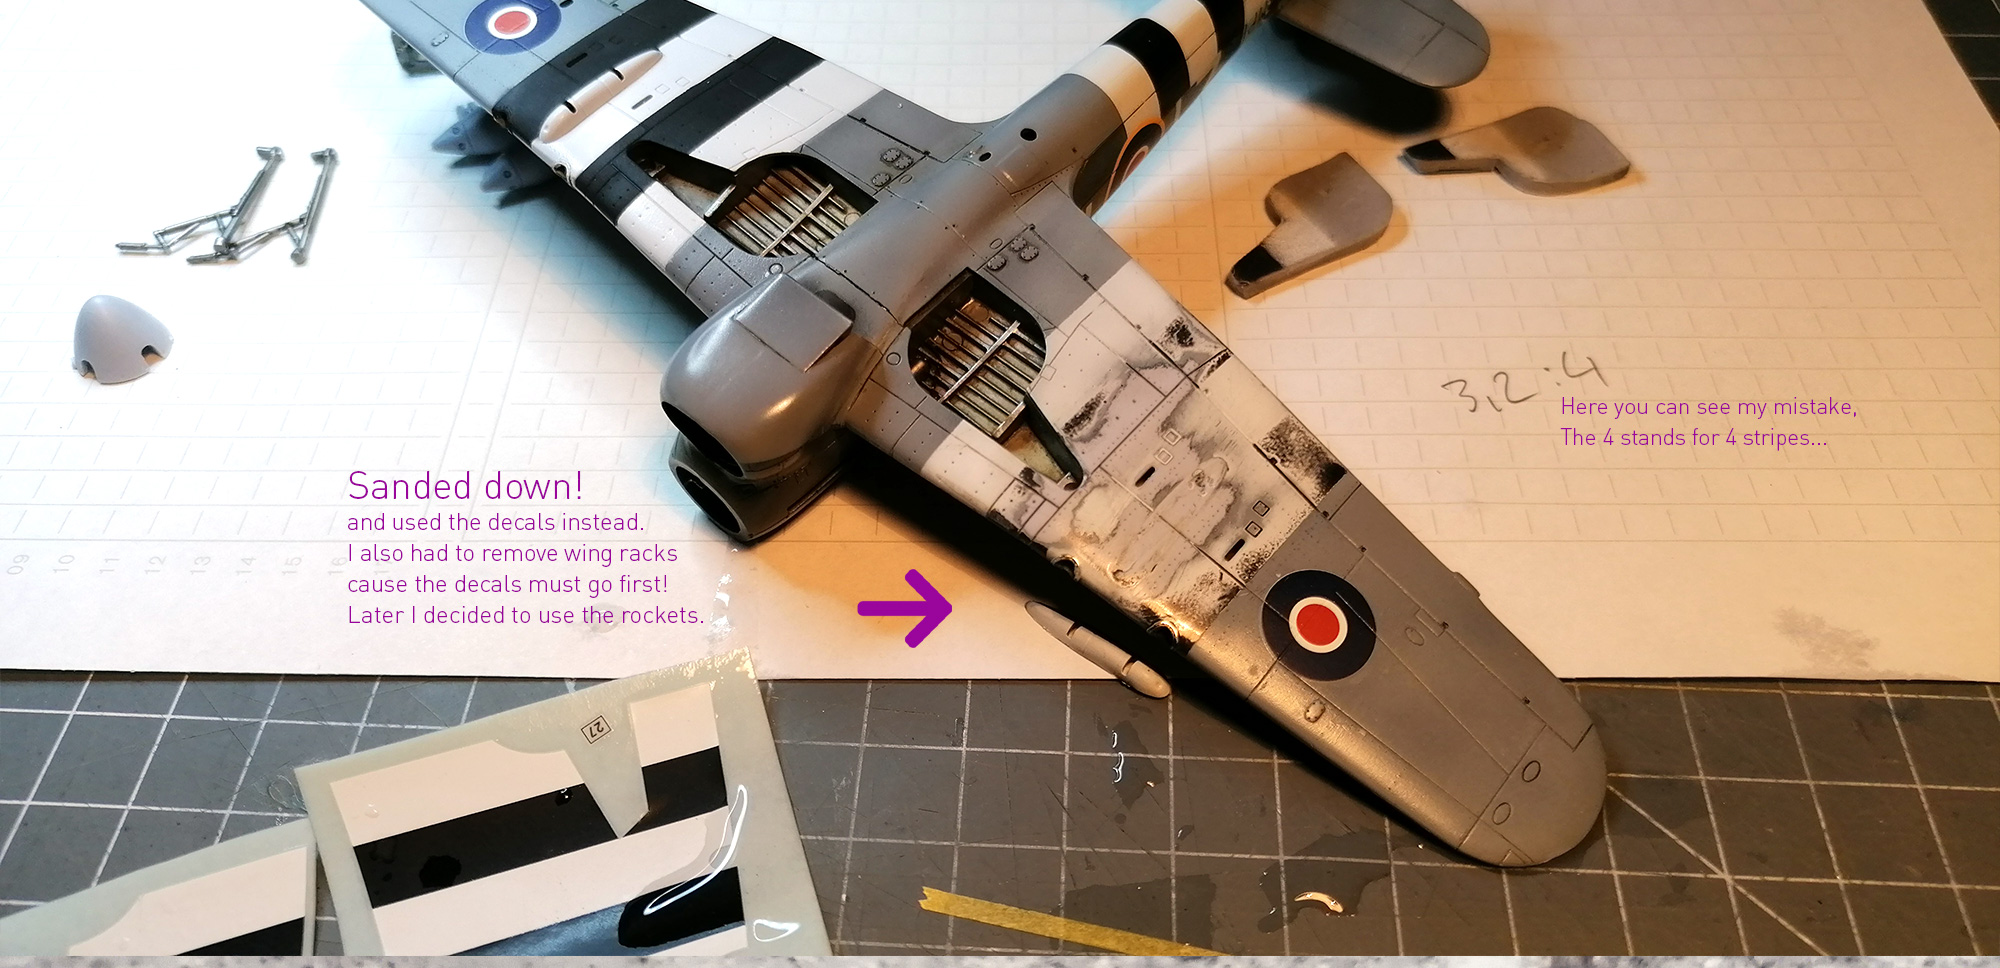
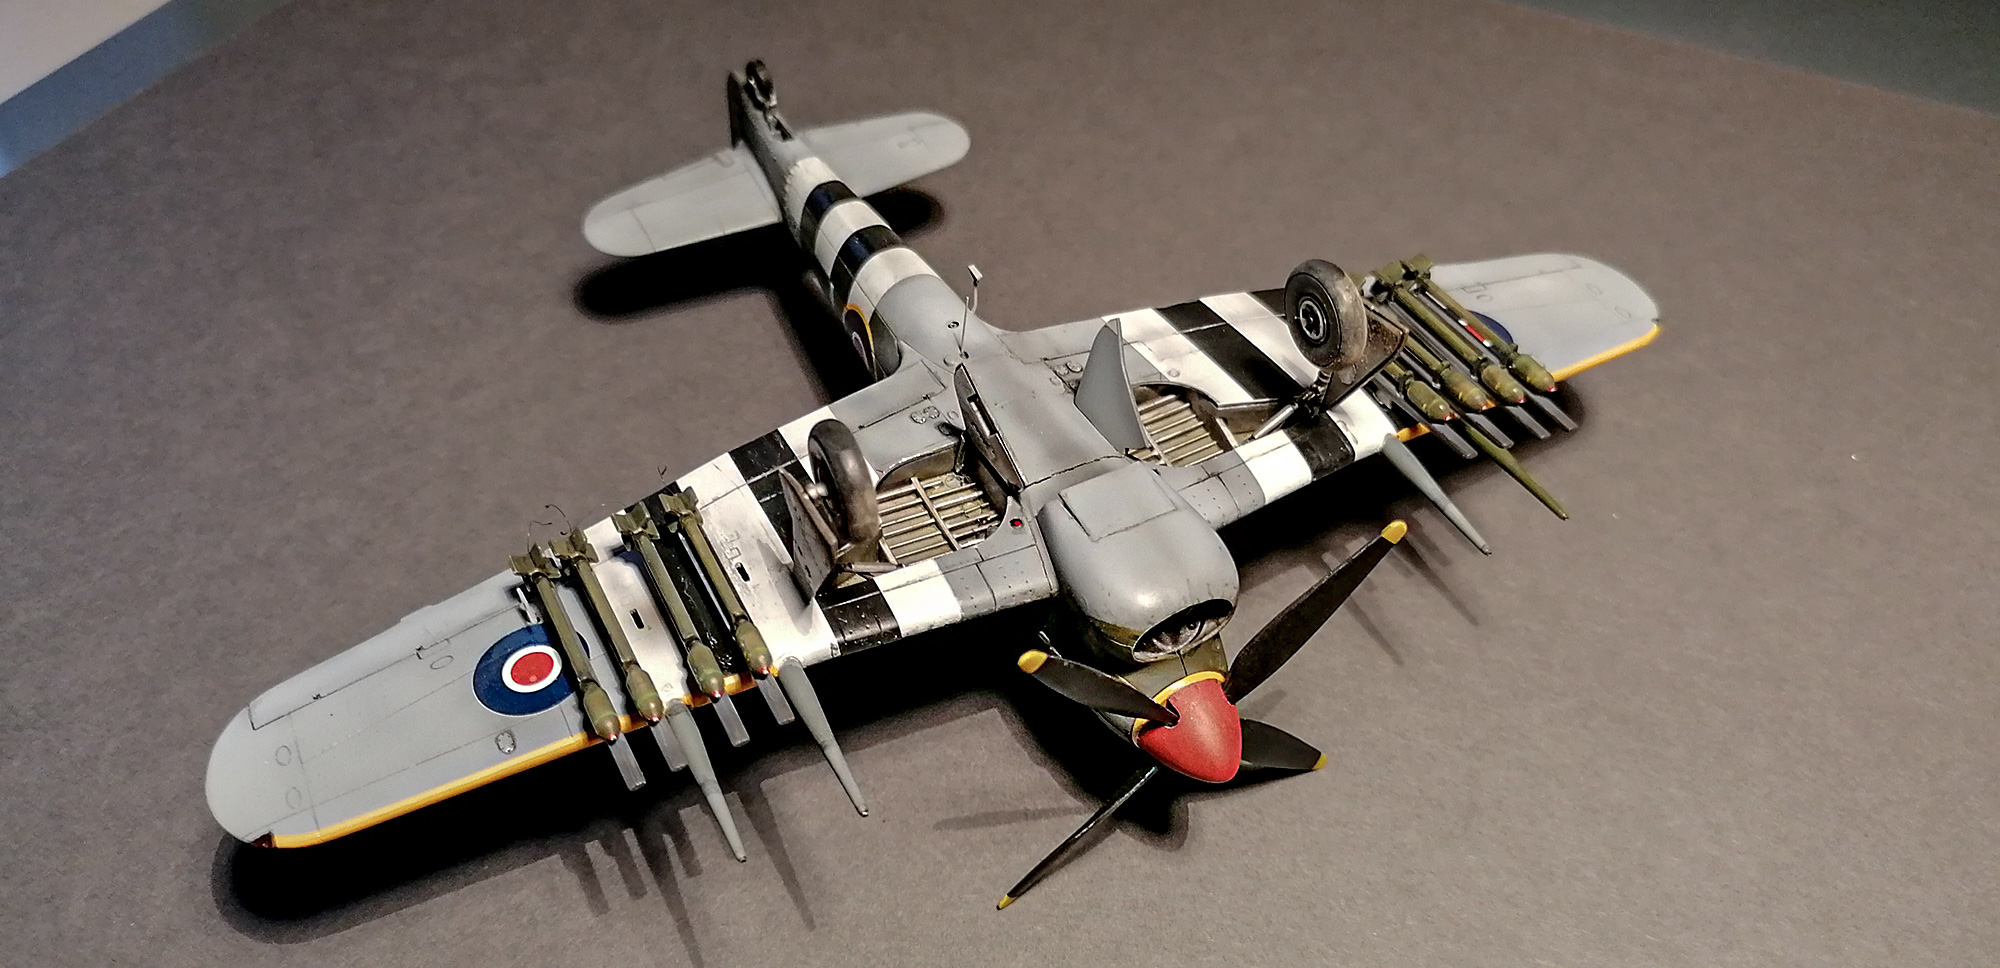
I made some mistakes on this build, and the biggest one involves the invasion stripes. The black-and-white striped bands applied to Allied aircraft before the D-Day landings in June 1944 were one of the most distinctive markings of the war — quickly brushed onto wings and fuselages so that Allied anti-aircraft gunners and naval crews could identify friendly aircraft at a glance. Applying them convincingly in 1/72 is trickier than it looks: the stripes on the underside of the Typhoon's wings wrap around the leading and trailing edges and need to align precisely across both surfaces. I masked them carefully, but if you look at the photos you can see where the alignment broke down. The stripes are a known challenge with this kit, and I would recommend studying the geometry of the original aircraft carefully before you commit to the masking — or considering an aftermarket mask set.
Build Tips
A further installation tip from hard experience: fit the control stick before closing the fuselage halves together, not after. It is just possible to thread it in with tweezers once the fuselage is joined, but it is not enjoyable. Similarly, the underwing bomb or rocket racks should be left off until the paint and decal work is fully complete — attaching them early makes masking around the wing roots considerably harder than it needs to be. The pilot entry step on the port fuselage side is slightly oversize as I scratch-built it, but it reads well at arm's length.
Colours
Colours are from the AK Real Colors RAF range, specifically the Northwest Europe 1944 set (Set No. 39) for the standard Dark Green / Ocean Grey / Medium Sea Grey scheme, with RC293 for the Sky fuselage band and spinner. These are lacquer-based and spray beautifully through an airbrush with minimal thinning. The overall result is a model I am proud of despite the stripe error — an honest reminder that even a well-engineered kit rewards careful planning.
 01
01
 02
02
 03
03
 04
04
 05
05
 06
06
 07
07
 08
08
 09
09
 10
10
 11
11
 12
12
 13
13
 14
14
 15
15
 16
16
 17
17